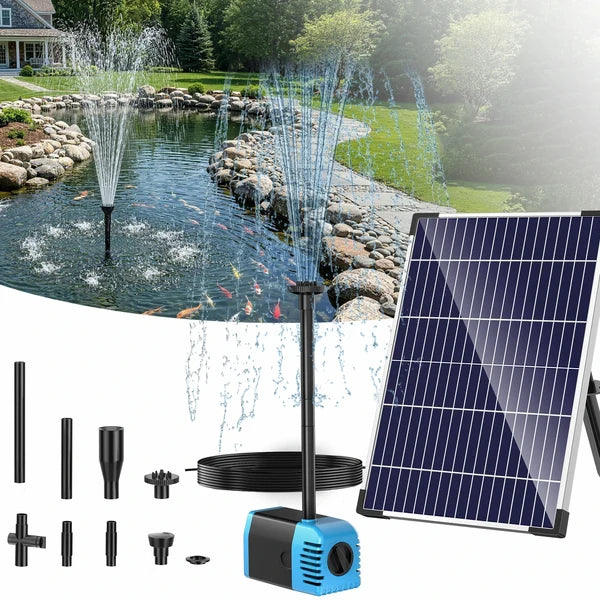
Items Needed


Schritt 1: Rohrvorbehandlung

1. Schneiden Sie ein 10 cm langes Stück PVC-Rohr ab. Tragen Sie dabei eine Schutzbrille.

2. Platzieren Sie die drei PVC-Stäbe in der Mitte, um das Gesamtgewicht zu reduzieren; fixieren Sie sie vorübergehend mit Klebeband.

3. Befestigen des zentralen Wasserrohrs mit Heißkleber.

4. Die Form mit Schmiermittel bestreichen, um das Entformen zu erleichtern
Schritt 2: Beton gießen

5. Verwenden Sie für ein Blumenkübel-Tablett einen ganzen 40-kg-Sack Schnellzement; ein 5-Gallonen-Eimer benötigt nur 3/4 eines Sacks.

6. Nachdem Sie den Zement eingefüllt haben, drücken Sie von oben auf die Form, um Luftblasen zu entfernen; überlaufendes Material muss nicht entfernt werden.

7. Geben Sie Zement in einen weiteren Eimer und gießen Sie ihn ein, um das Fundament am Boden zu bilden.
Schritt 3: Zement formen und entformen

8. Schleifen Sie die Oberfläche des Untersetzers ab, nachdem er vollständig ausgehärtet ist.

9. Vier Tage nach dem Gießen leicht auf den Boden des Eimers klopfen, um die Form zu entfernen.

10. Mit sauberem Wasser abspülen + mit Schleifpapier anschleifen; Zement auf die Oberfläche auftragen, um die Textur wiederherzustellen

11. Eine hochglänzende Zementversiegelung zur Imprägnierung und zum Schutz auftragen
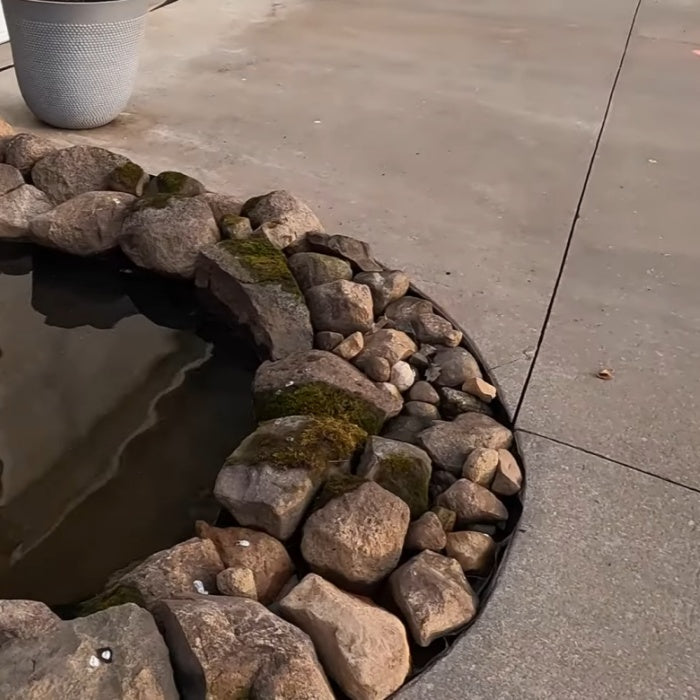
Schritt 4: Bau eines unterirdischen Wasserspeichers

12. Graben Sie ein 27×28 Zoll großes Loch und ebnen Sie den Boden mit einer Wasserwaage.

13. Den Boden am Teichgrund verdichten und die Teichfolie auslegen.

14. Legen Sie eine Basis aus Betonsteinen und umwickeln Sie die Außenkanten mit Gummischläuchen und Drahtgeflecht, um Beschädigungen zu vermeiden.
Schritt 5: Wasserpumpe installieren

15. Legen Sie die Pumpe auf den Boden der Grube, schneiden Sie ein Loch in das Drahtgeflecht und führen Sie den Schlauch hindurch. (Sie können einen Nylonkabelbinder verwenden, um den Schlauch zu befestigen und ein Herunterfallen zu verhindern.)

16. Überprüfen Sie die Stabilität aller Steinelemente und sichern Sie lose Steine.

17. Stellen Sie die Solarpanele auf und verwenden Sie den Drehknopf, um den Wasserpumpenfluss auf das entsprechende Niveau einzustellen.
Schritt 6: Wasserpumpe installieren

18. Hinweis: Platzieren Sie den 19-Liter-Zementsockel umgedreht, um ihn als Herzstück der Landschaftsgestaltung zu verwenden.

19. Legen Sie schwarzes Lavagestein aus, um das Bodenfilternetz/Wasserreservoir zu bedecken.
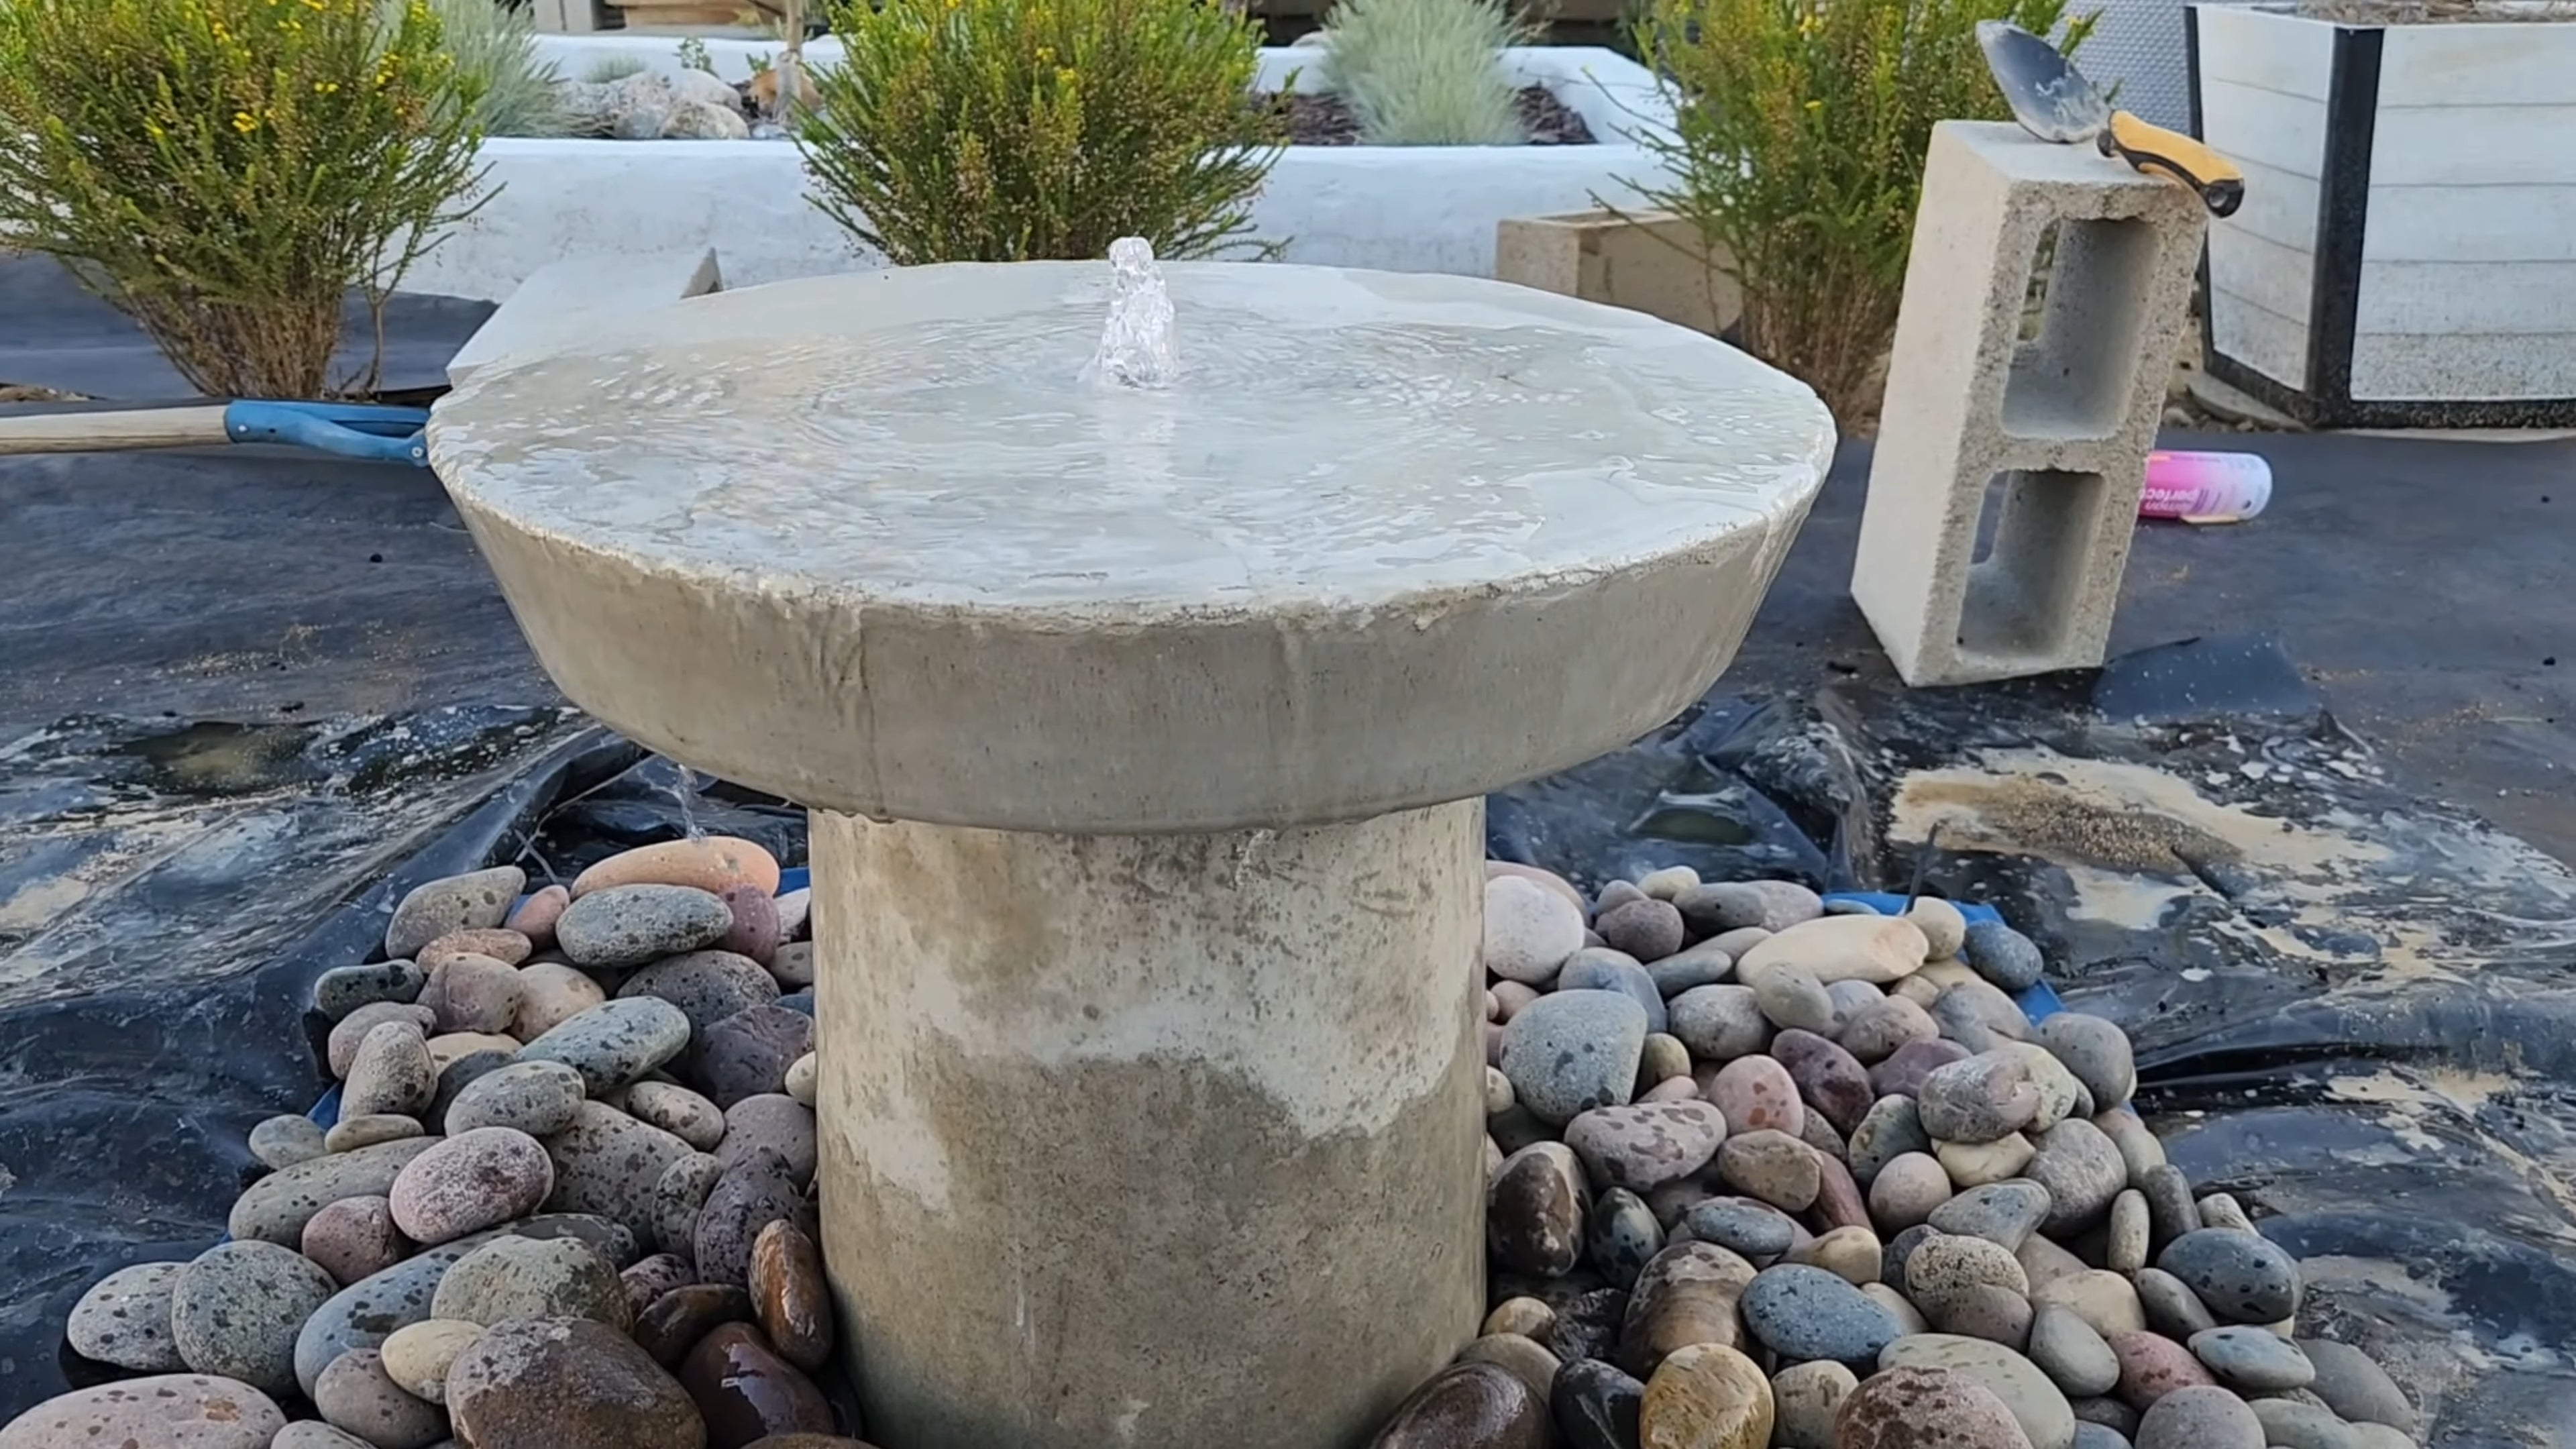
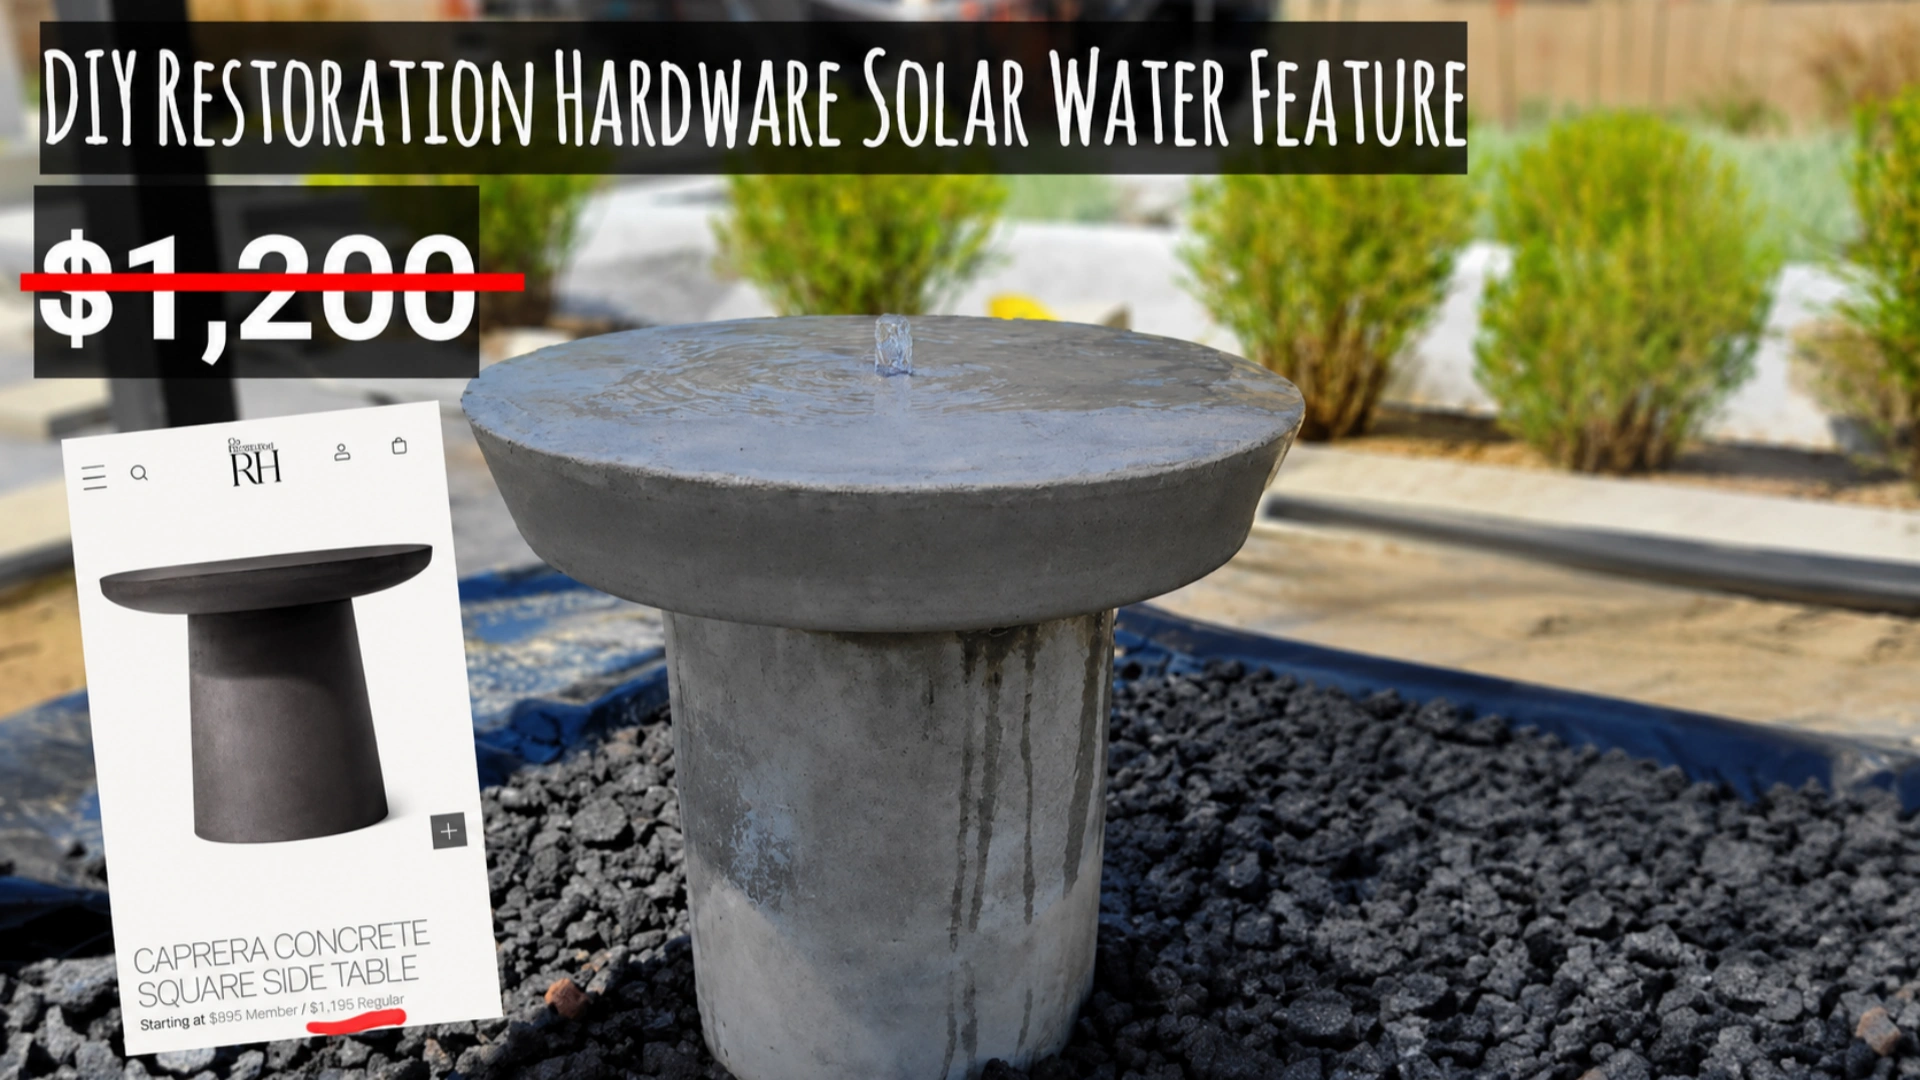
Viel Freude mit Ihrem Solar-Springbrunnen!