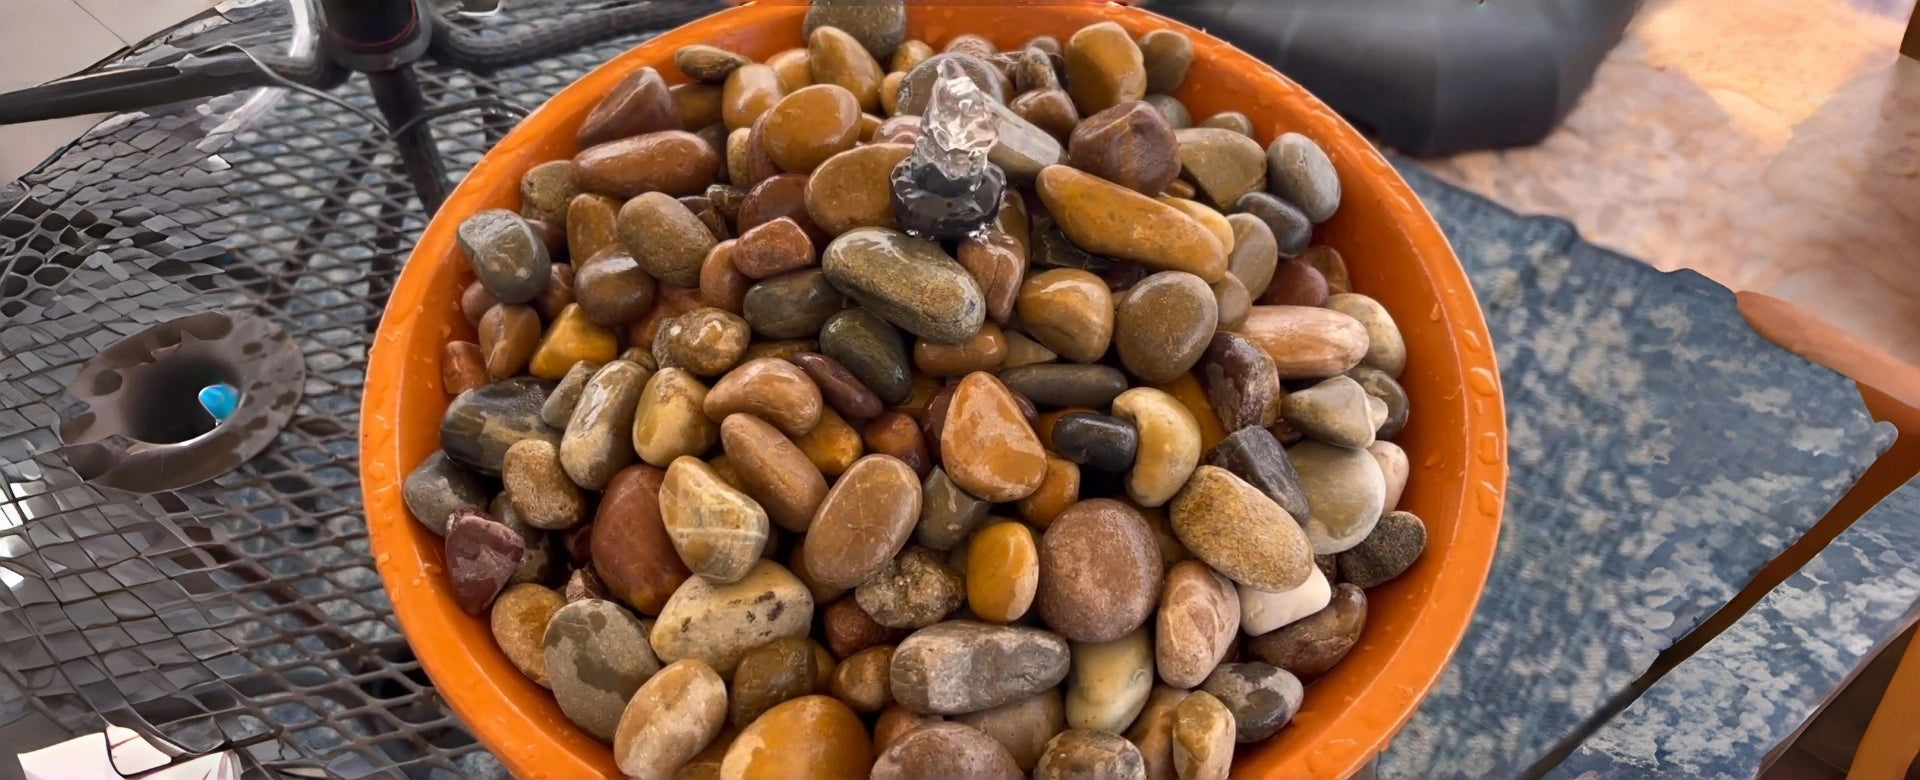

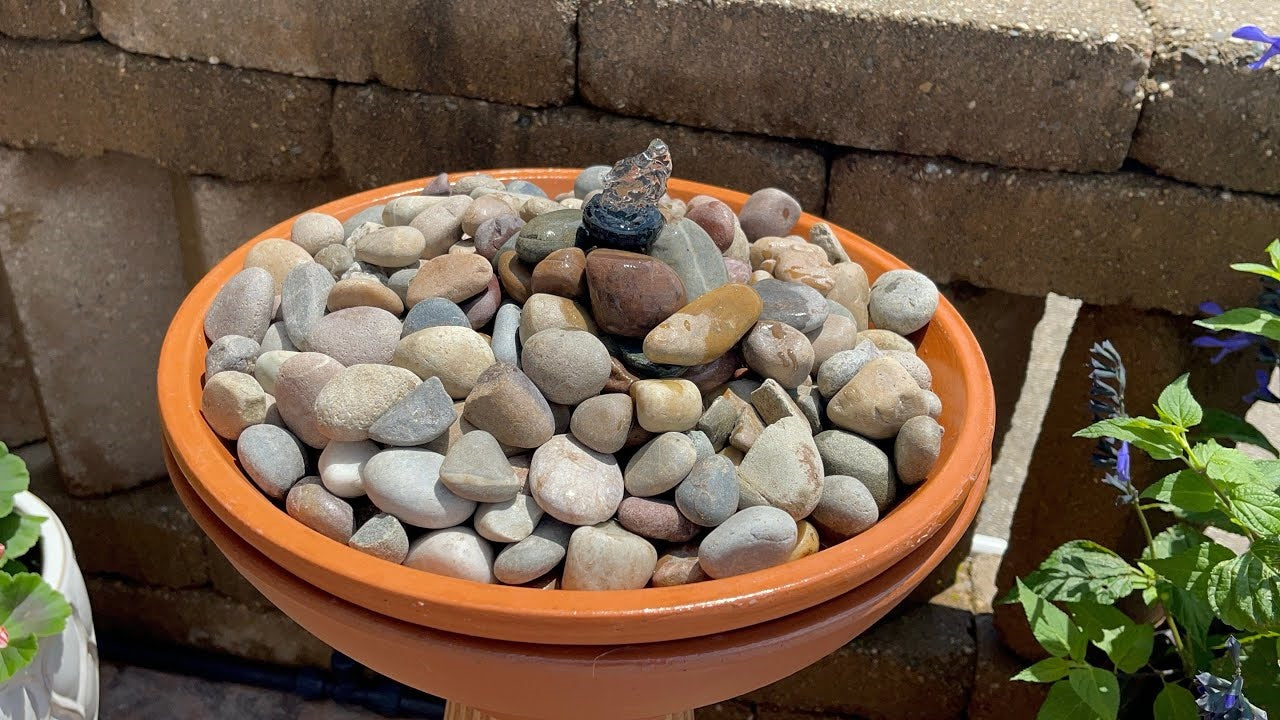
Items Needed
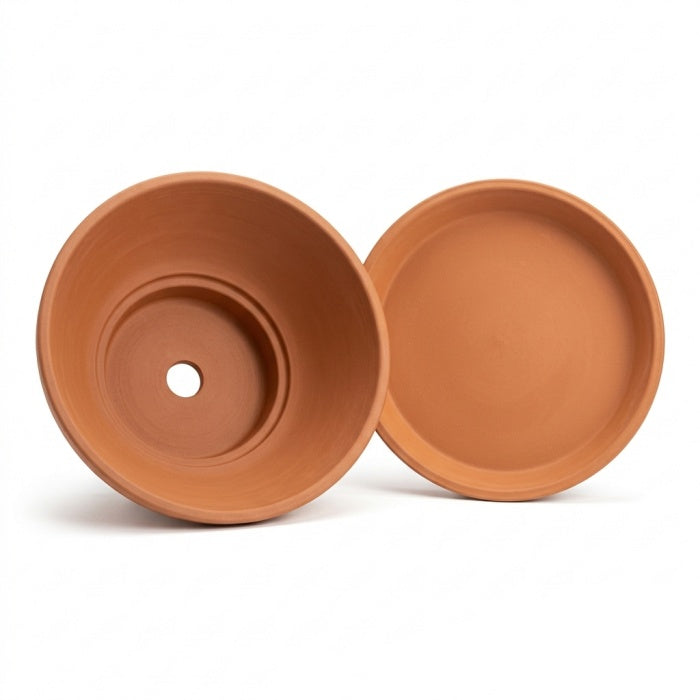
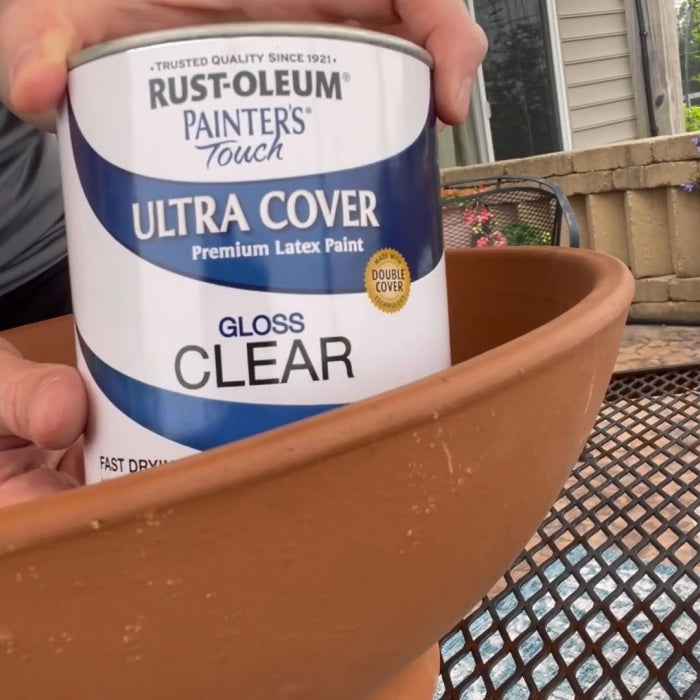
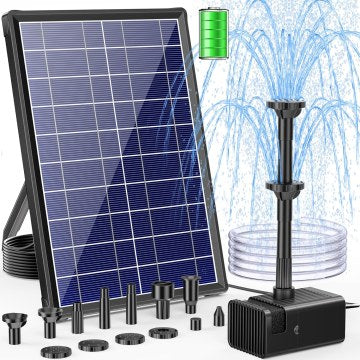

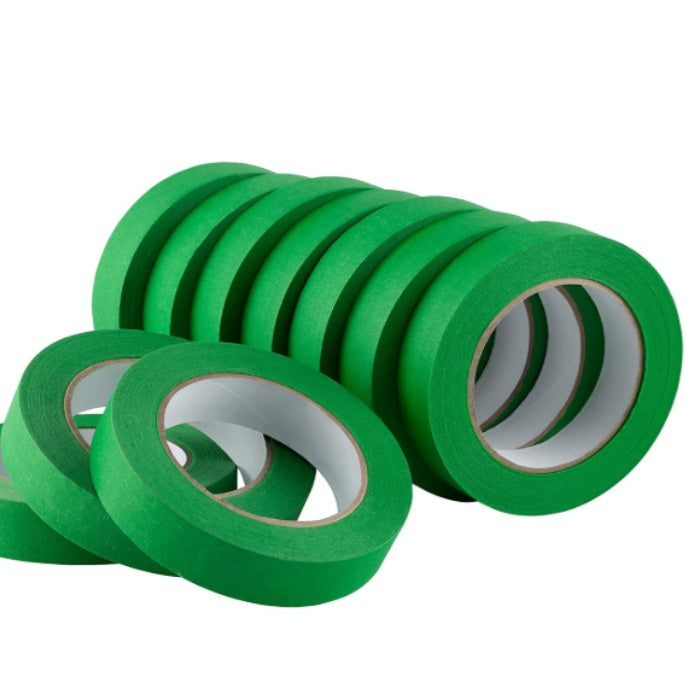
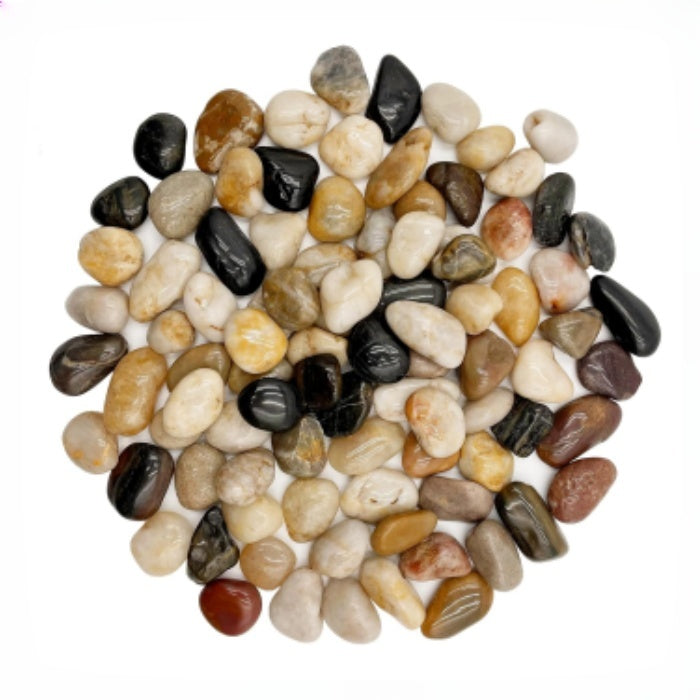
Step 1: Waterproof sealing
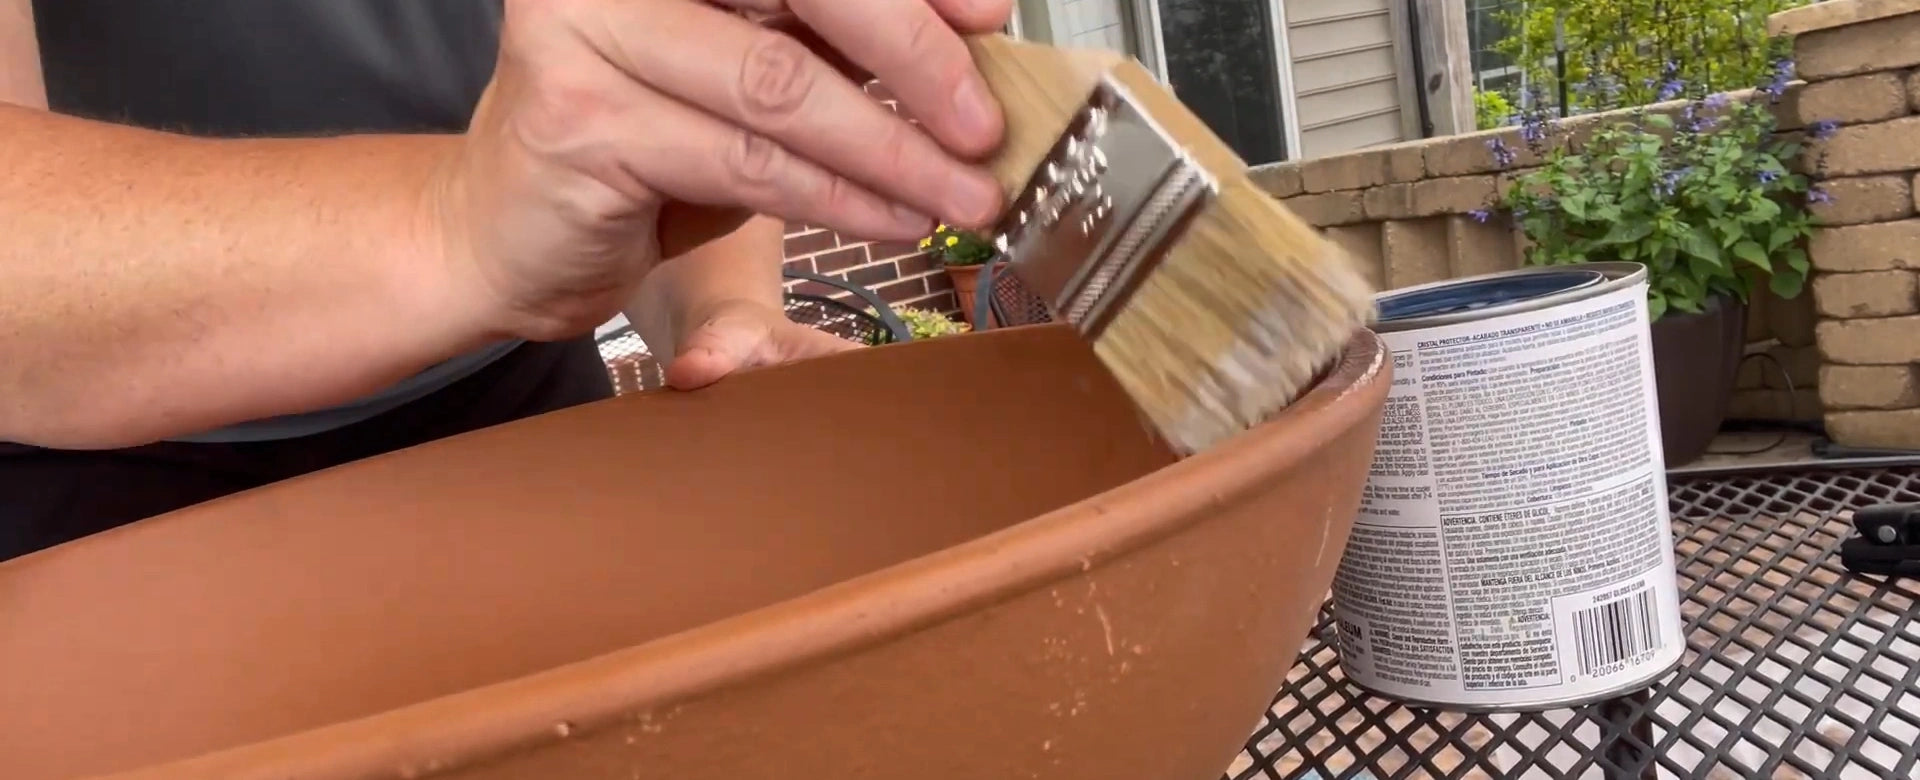
1. Apply the sealant evenly to the inside of the clay bowl and tray.
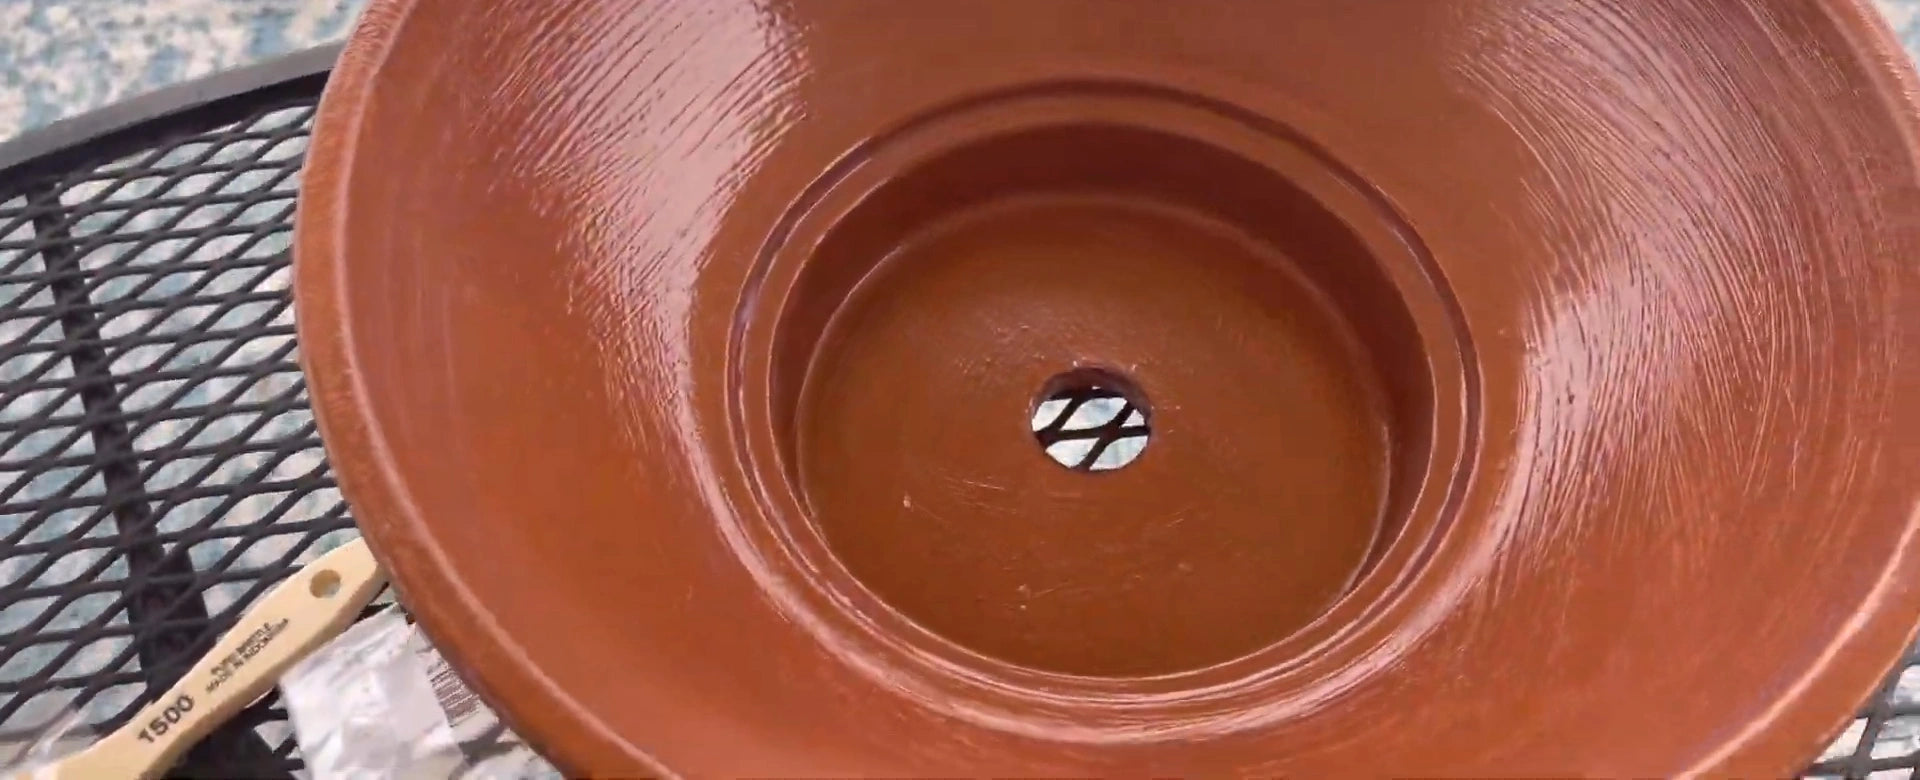
2. After painting, let it sit for 48 hours to ensure the coating is fully cured.
Step 2: Drilling and Sealing the Bottom
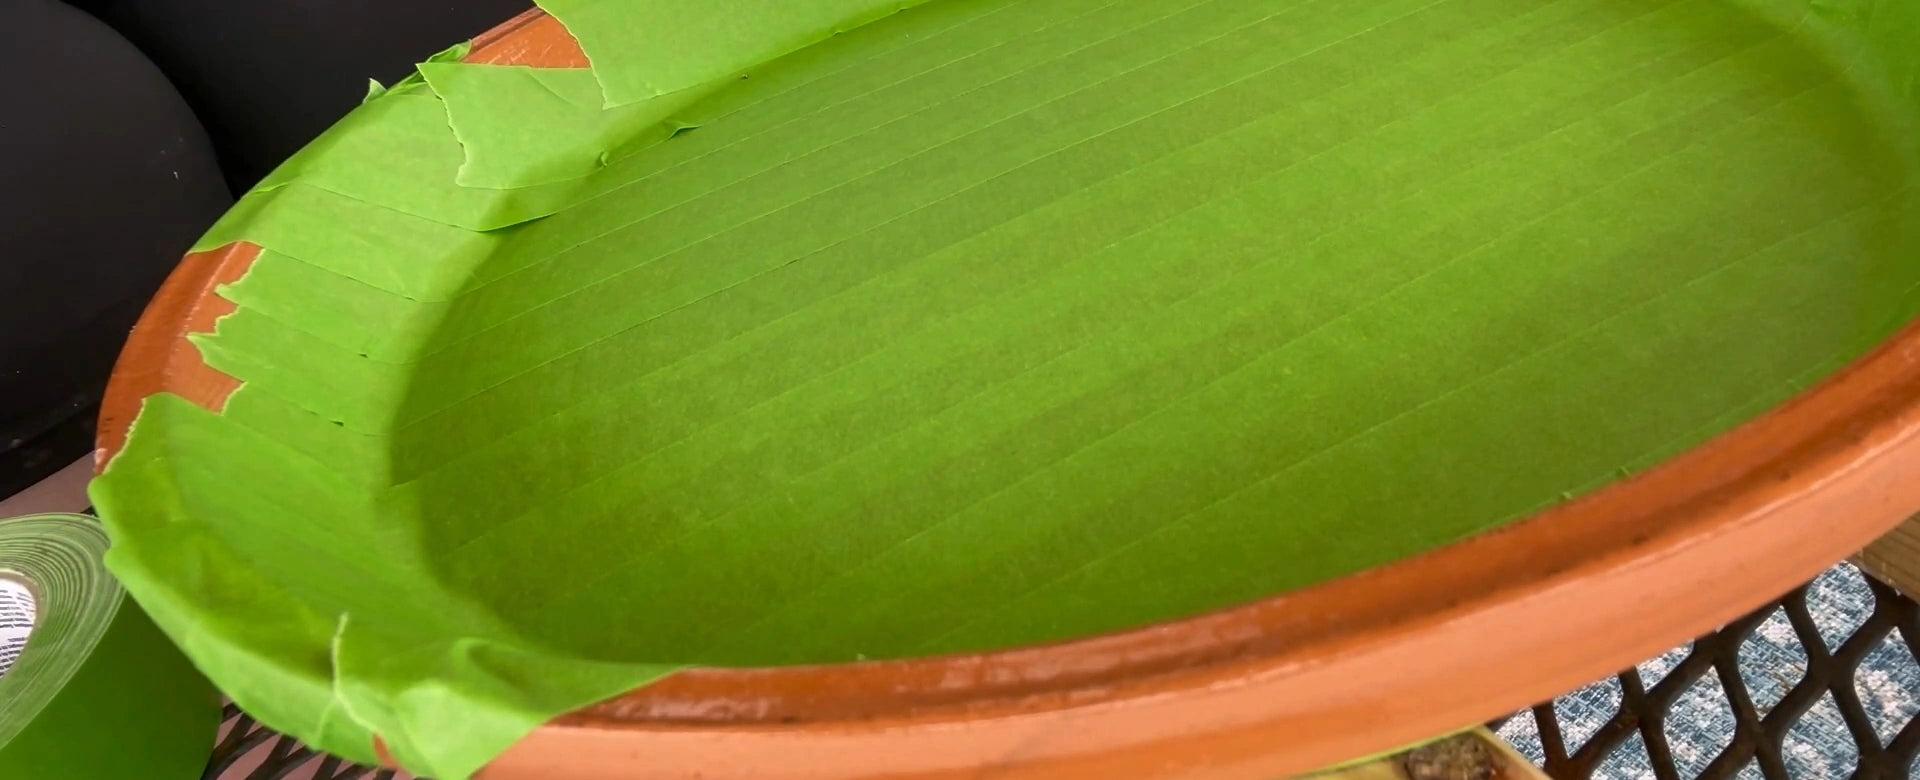
3. Before you start drilling, cover the inside and bottom of the tray with tape to prevent the clay from cracking during drilling.
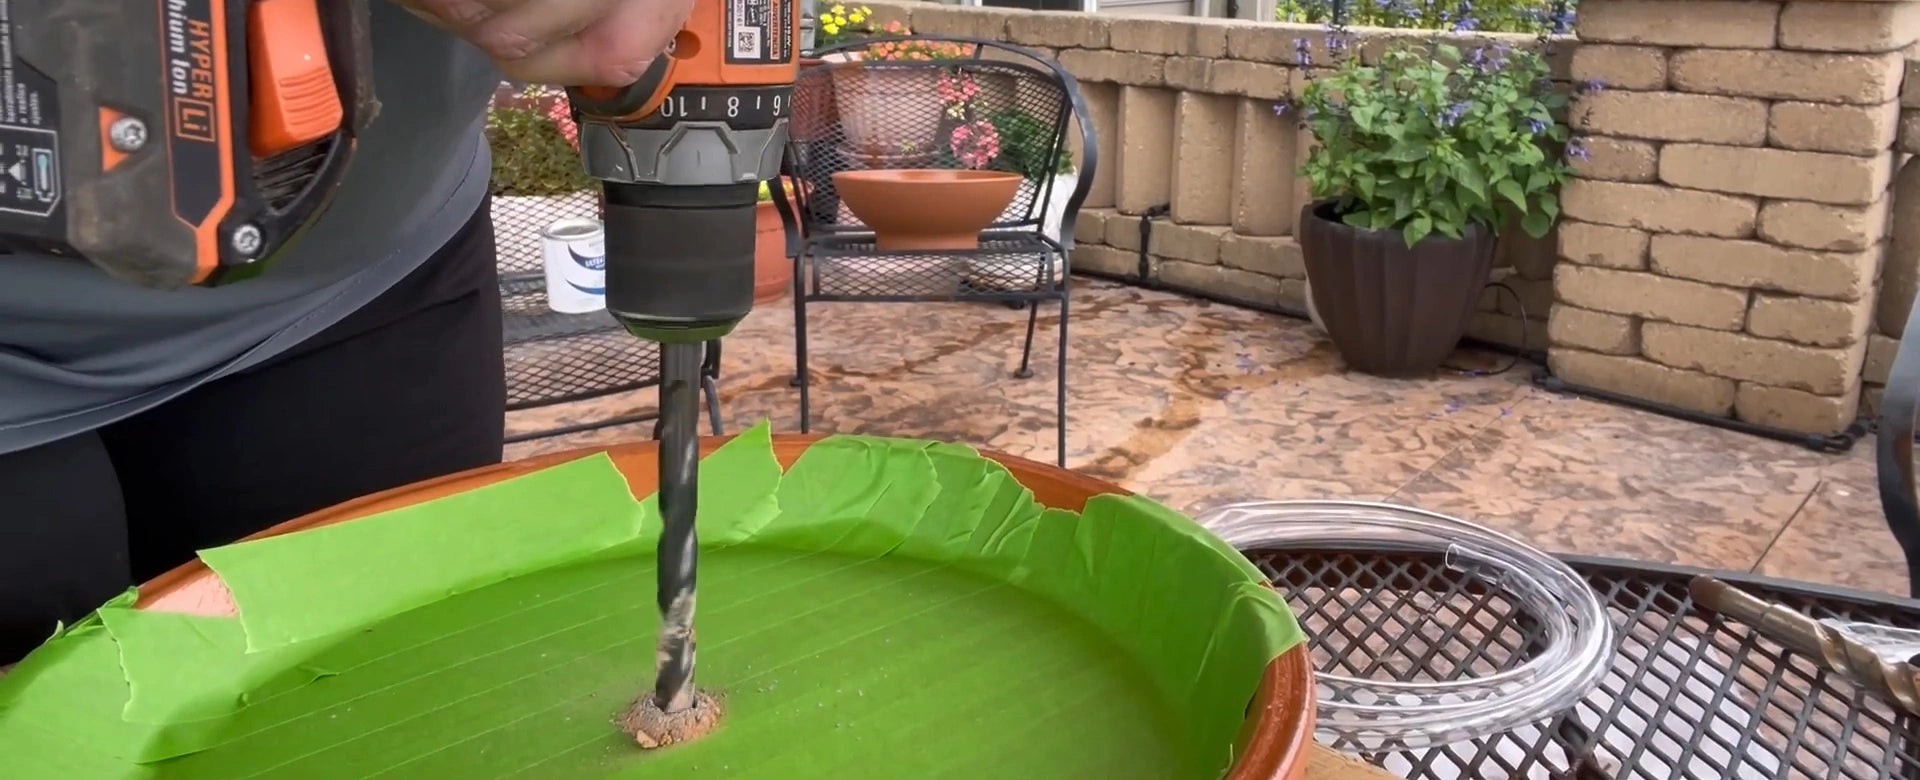
4. Drill a large hole in the center of the tray to thread the water pump hose through.
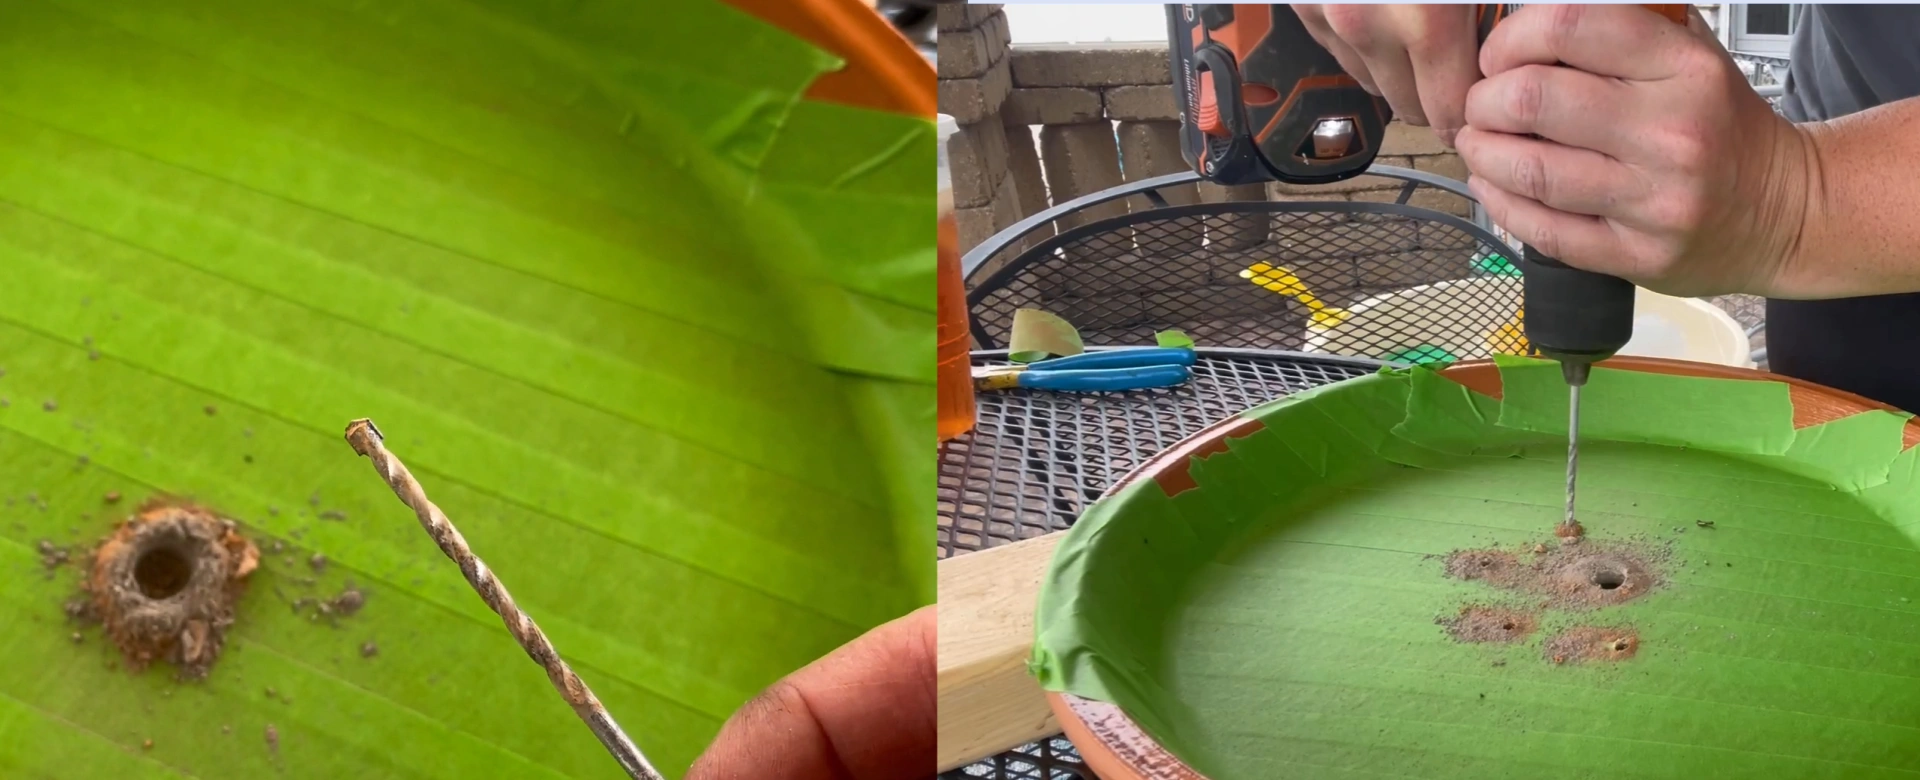
5. Switch to a smaller masonry drill bit and drill several small drainage holes around the center hole of the tray.
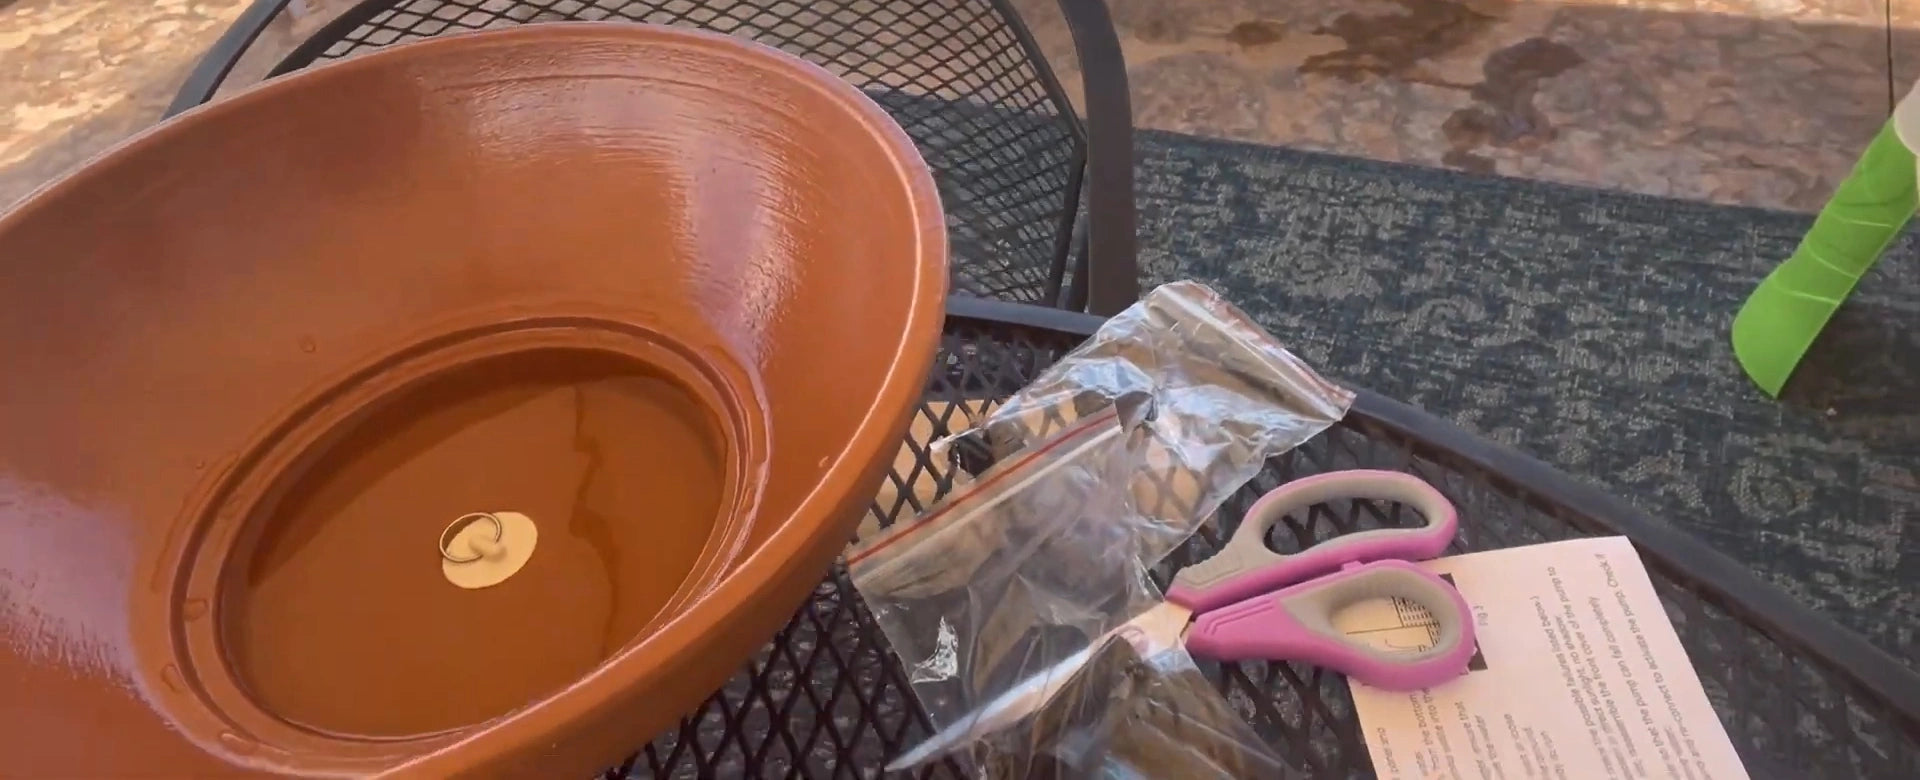
6. The rubber stopper blocks the drainage hole in the clay bowl.
Step 3: Connecting hoses and laying landscape stones
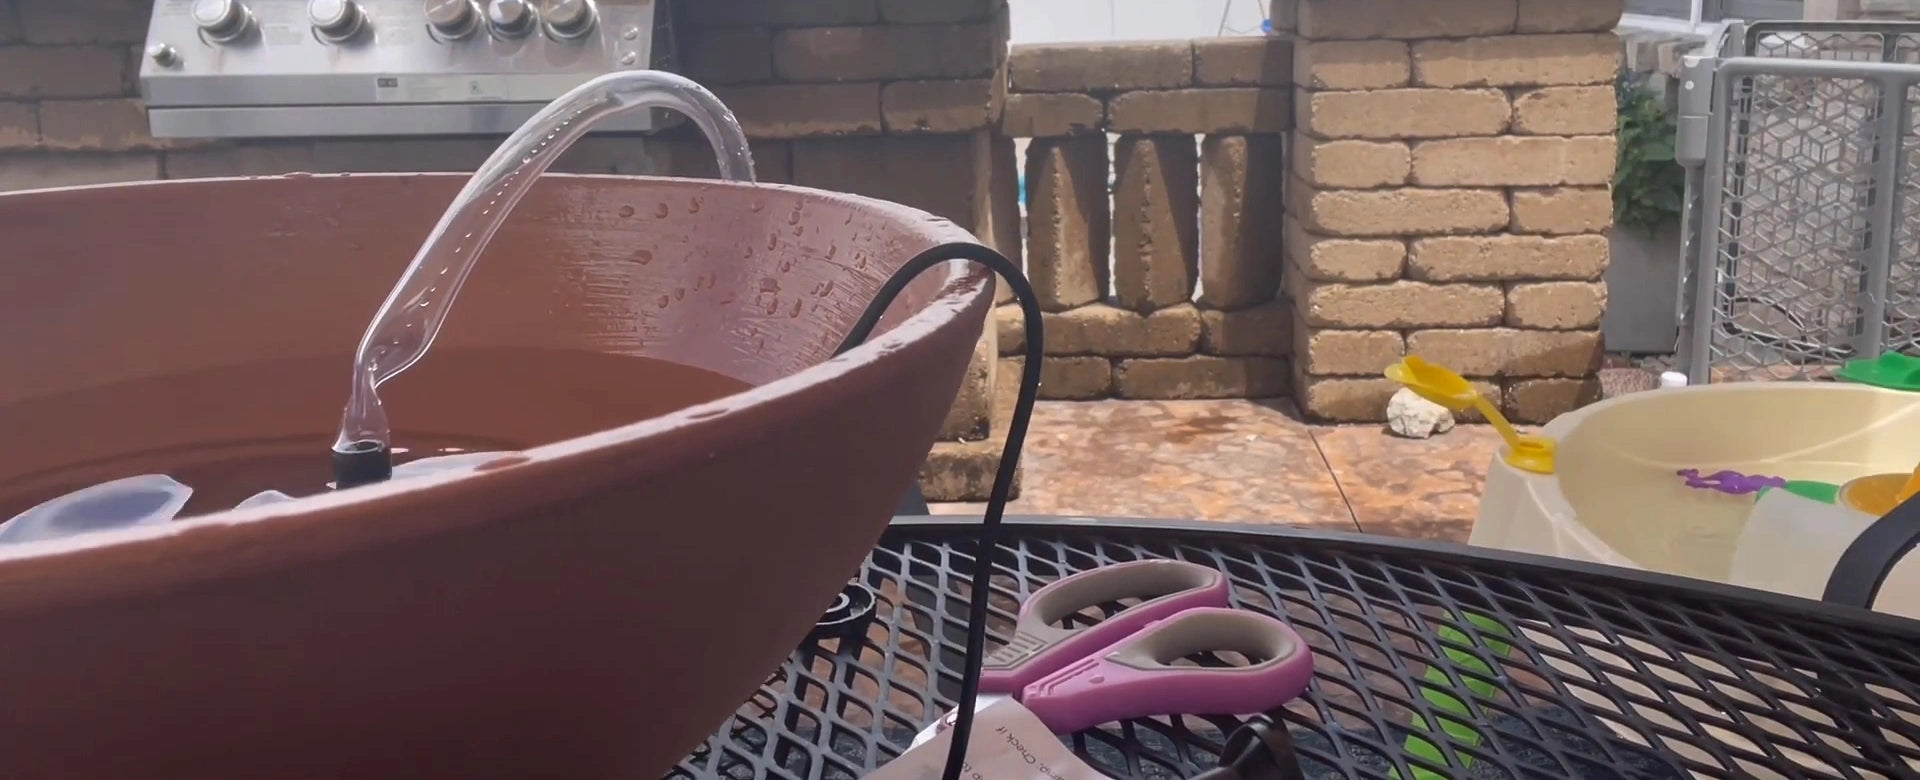
7. Firmly attach the included hose to the pump's connection.
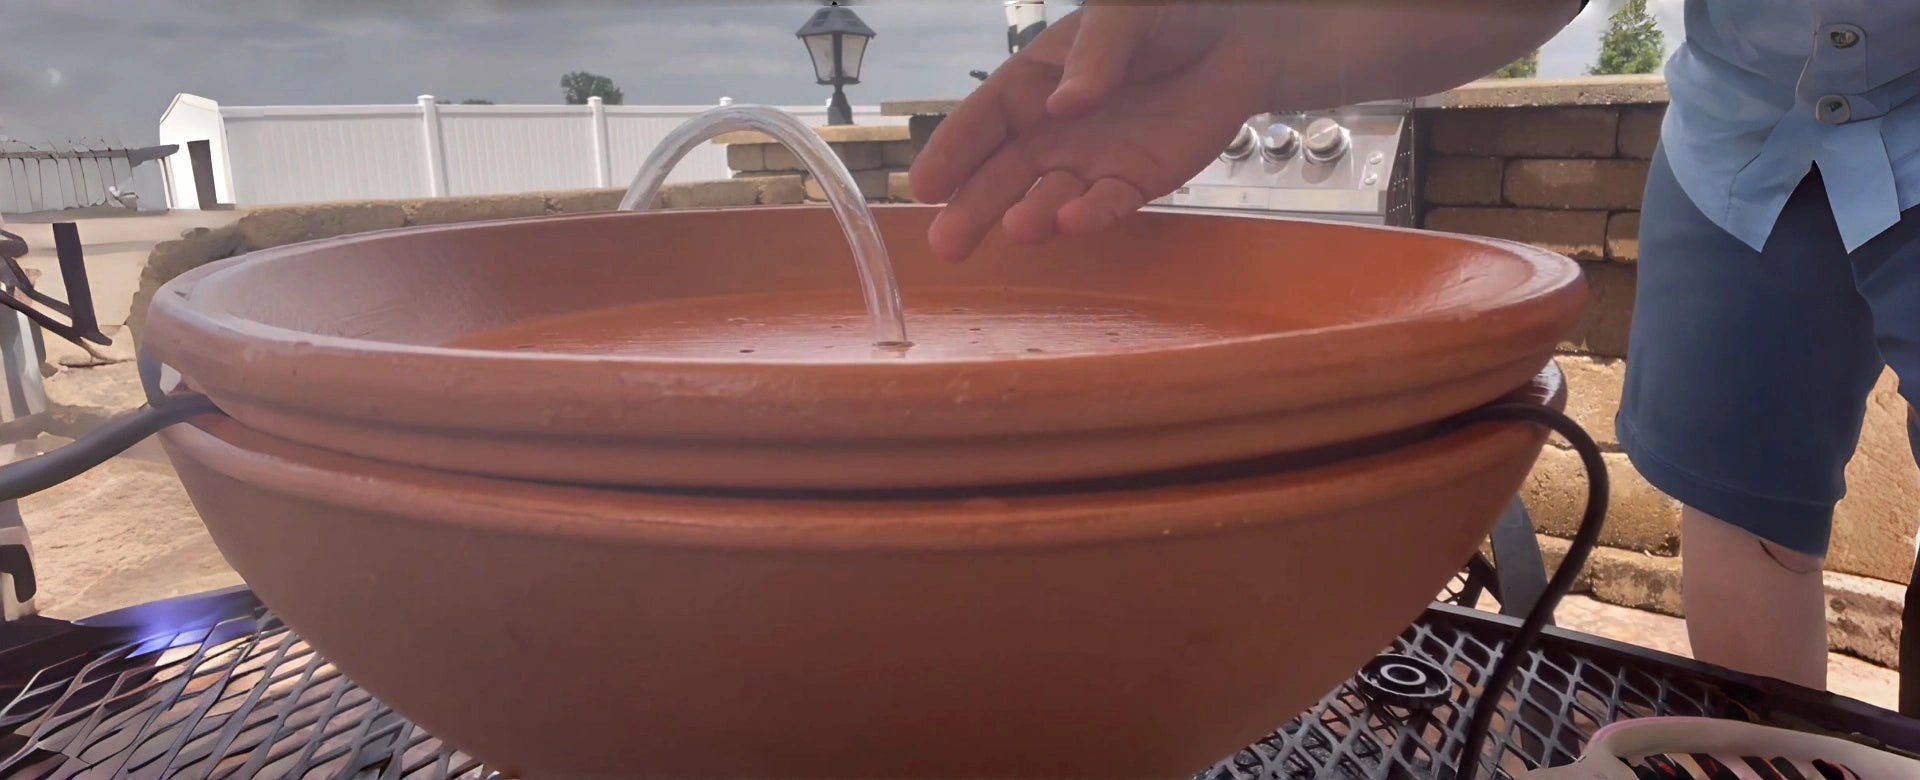
8. Place the tray over the bowl and thread the hose through the large hole in the center of the tray’s bottom, starting from the bottom and working your way up.
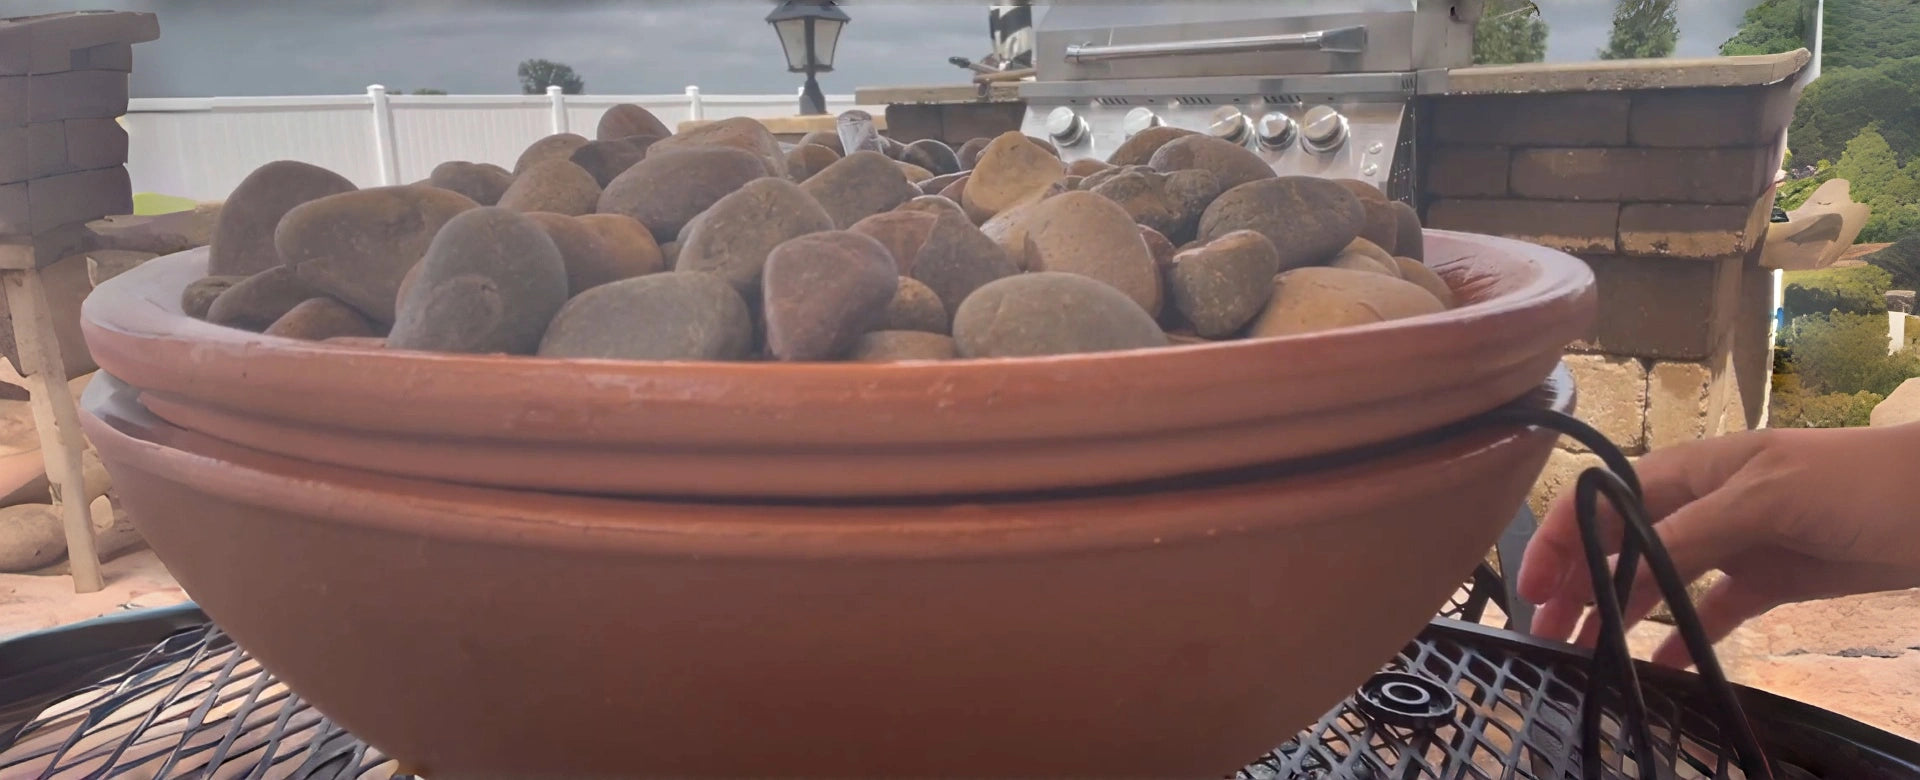
9. Cut off the excess hose and fill the tray with decorative stones.
Step 4: Adjusting the water flow
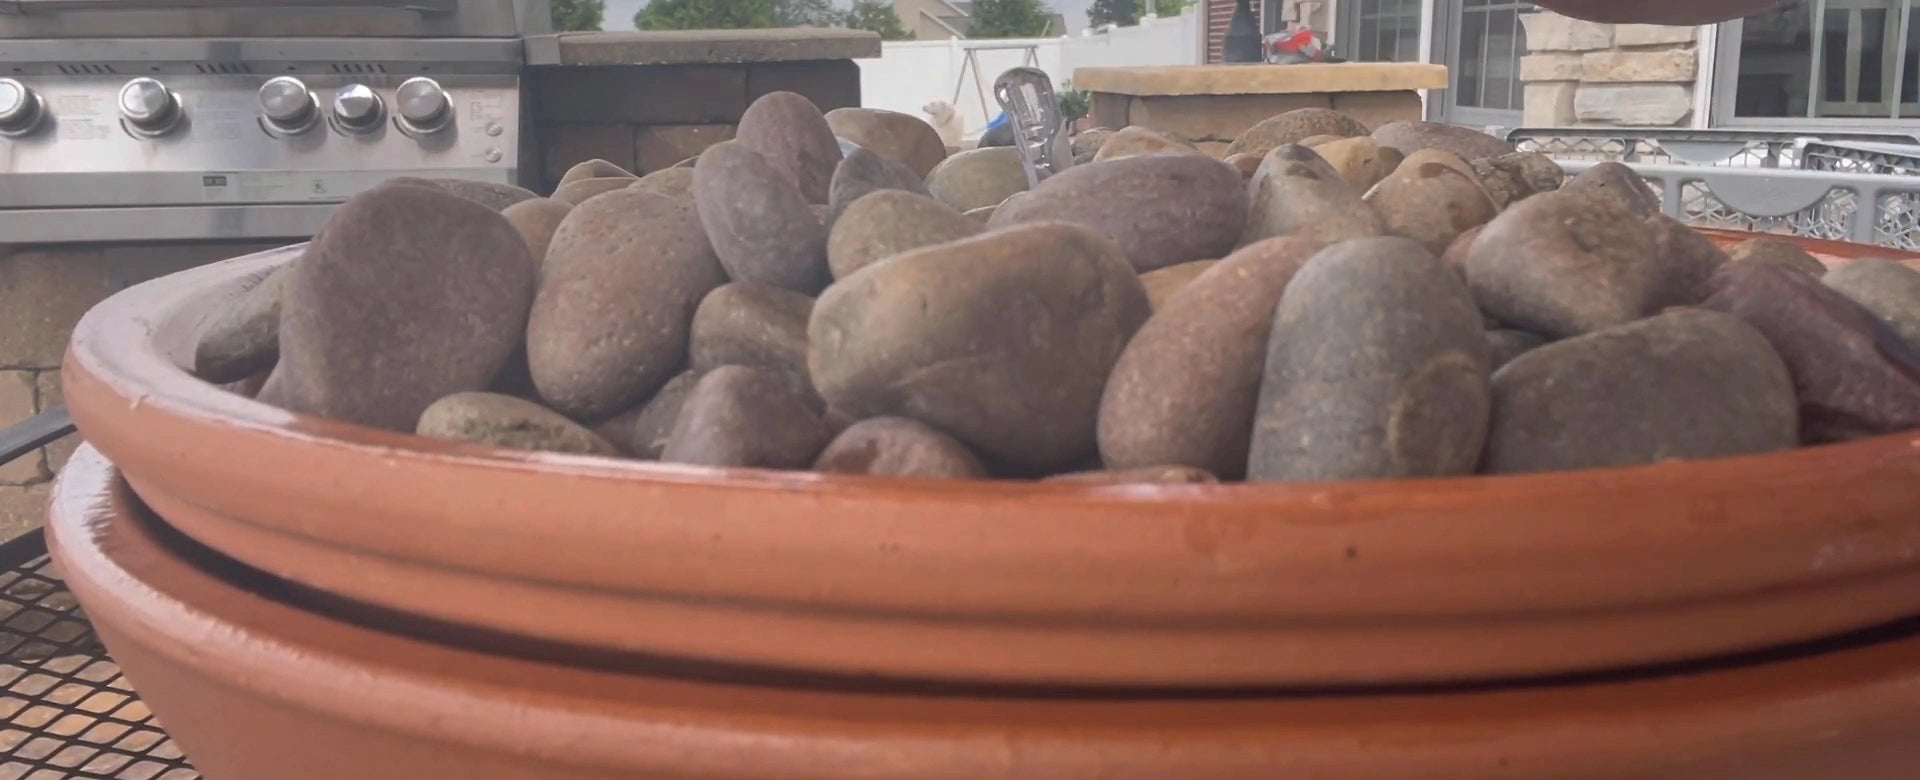
10. Add water, plug it in, and check for any kinks or tangles that might be obstructing the water flow. If any are found, adjust them.
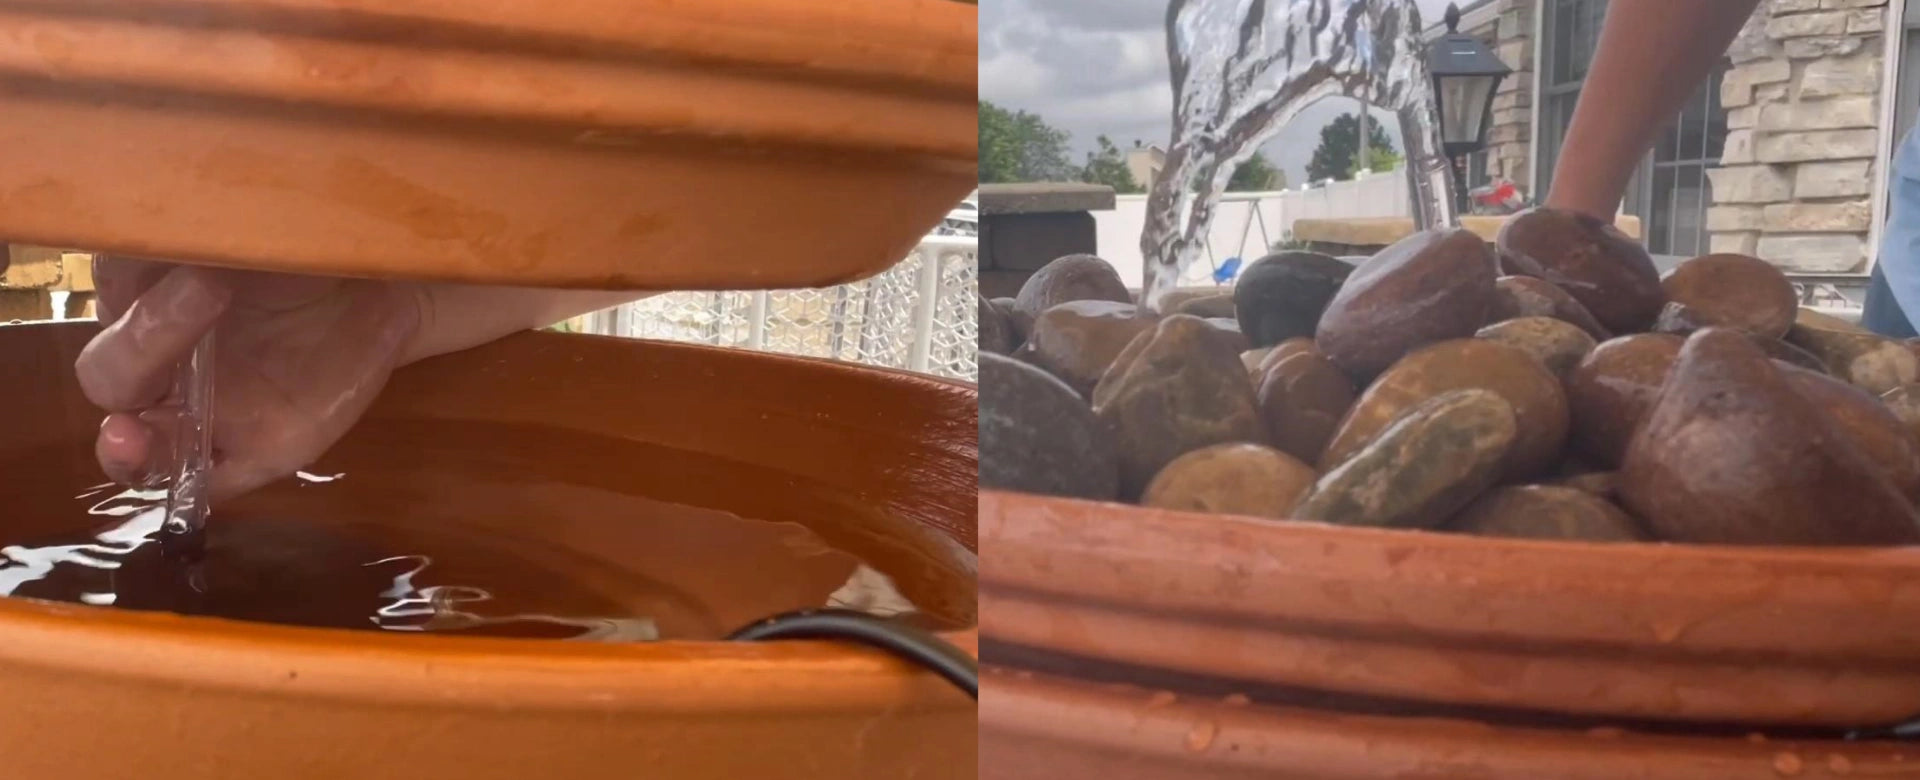
11. Check and straighten any kinks in the hose to ensure water flows smoothly.
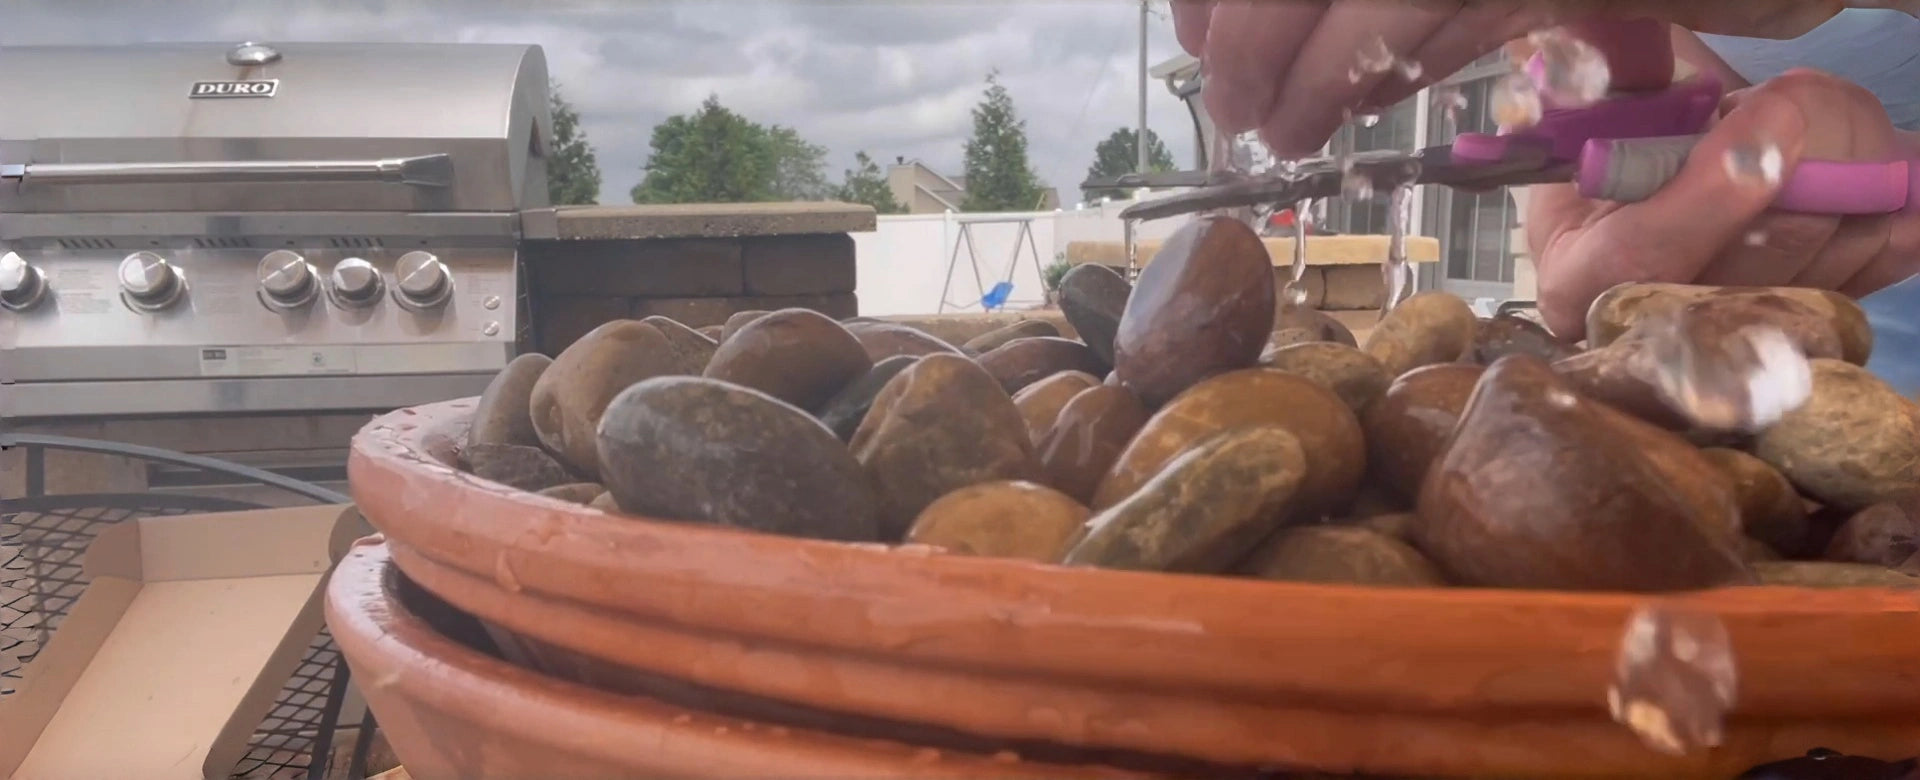
12. Once the desired water flow has been achieved, trim the exposed hose to the appropriate length.
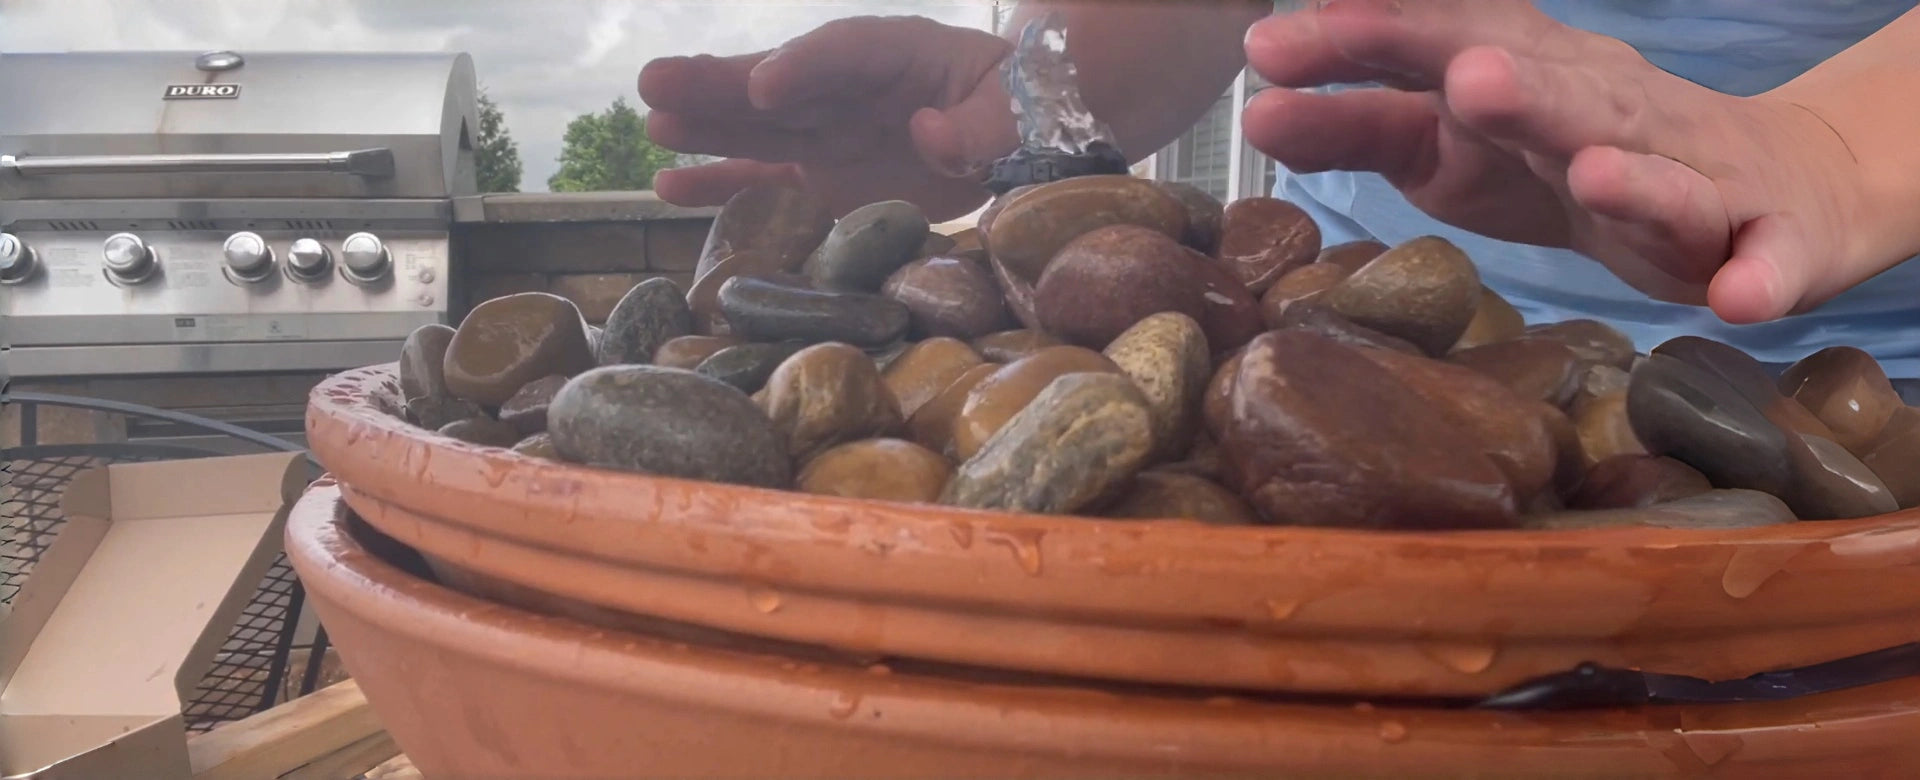
13. Install a nozzle that produces a “bubbling” effect.
Enjoy Your Solar Bird Bath Fountain!