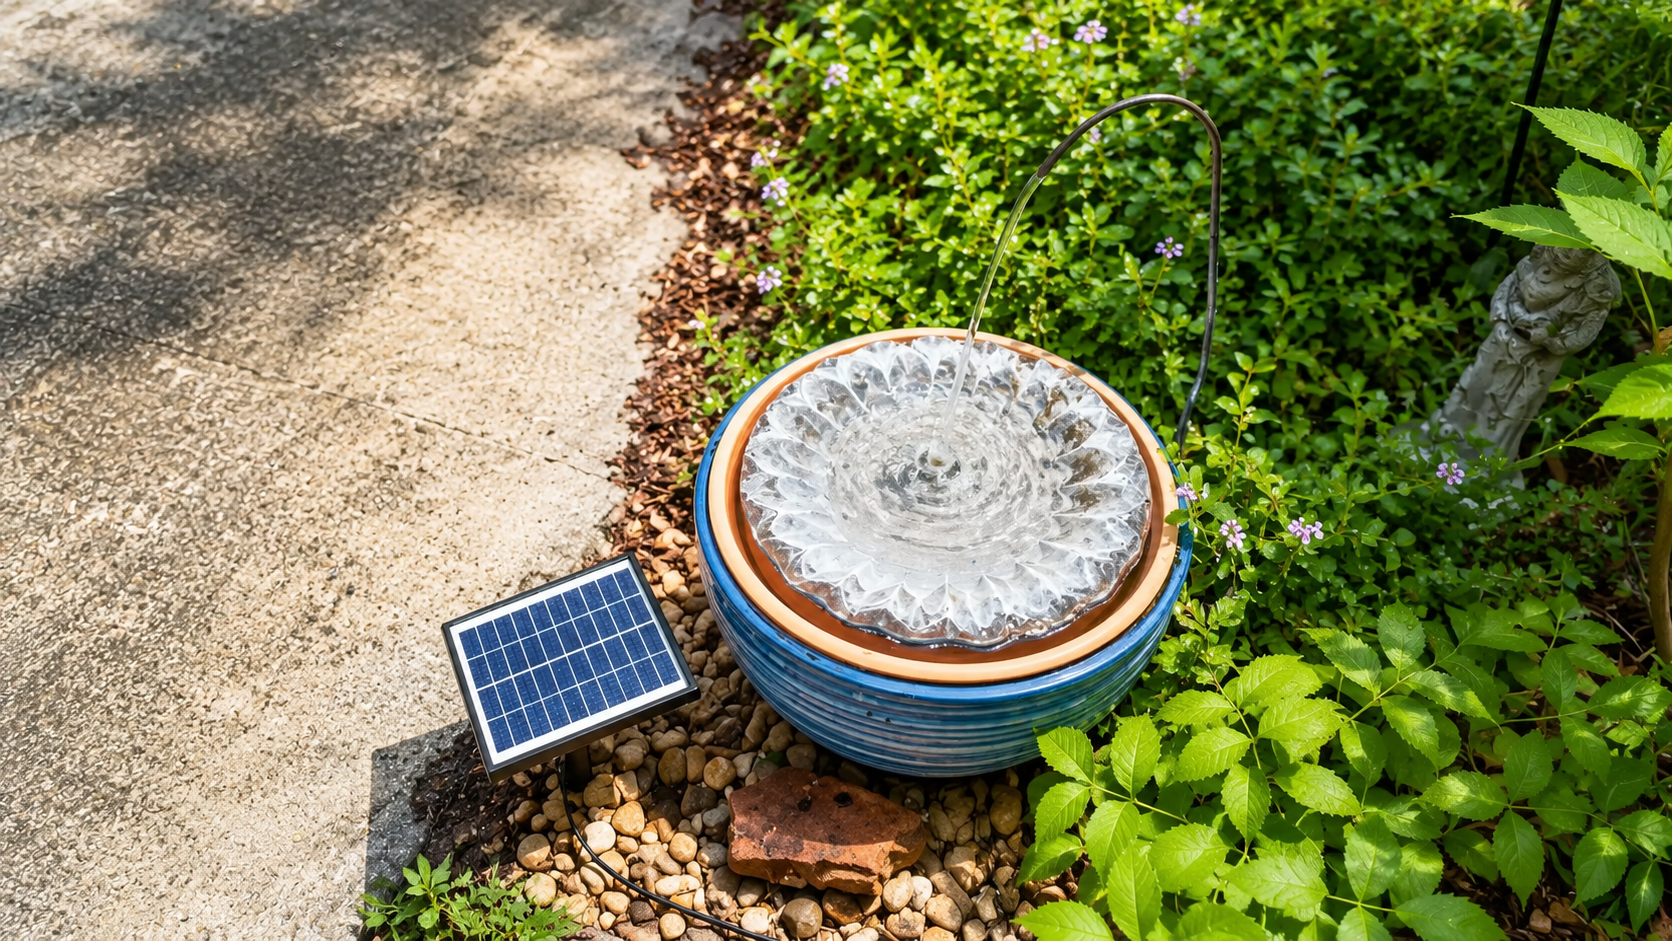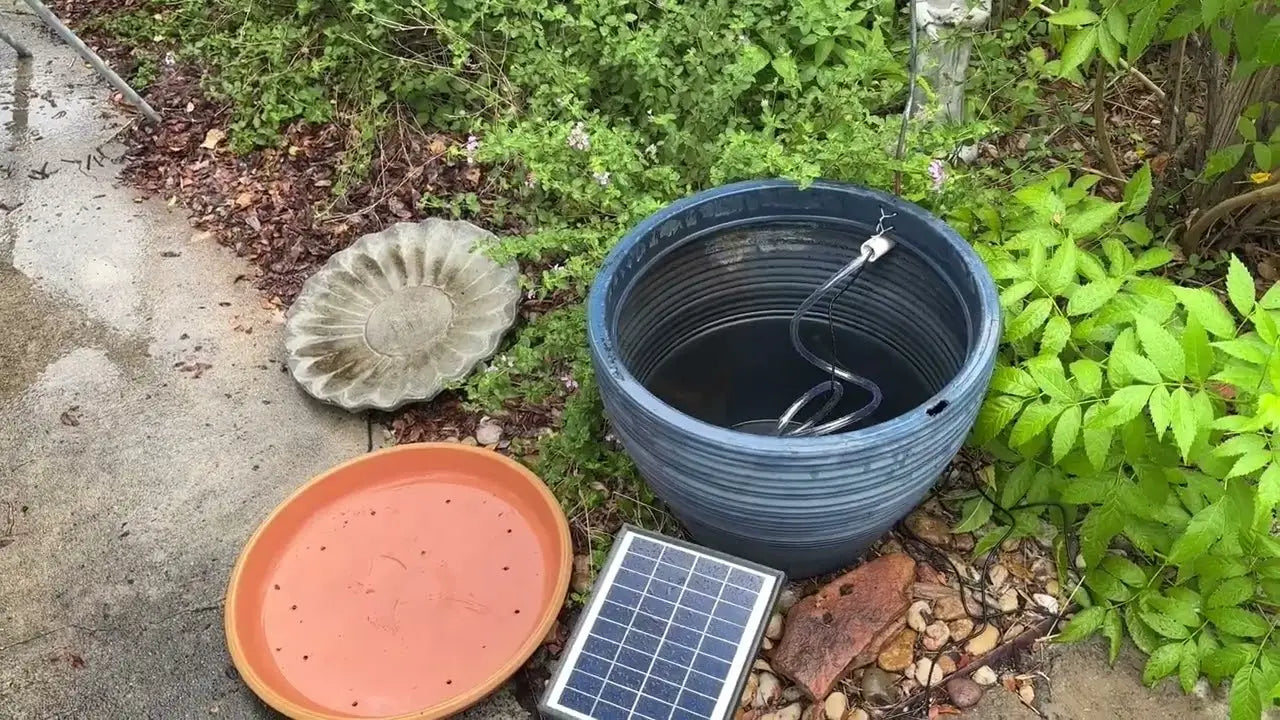
Items Needed

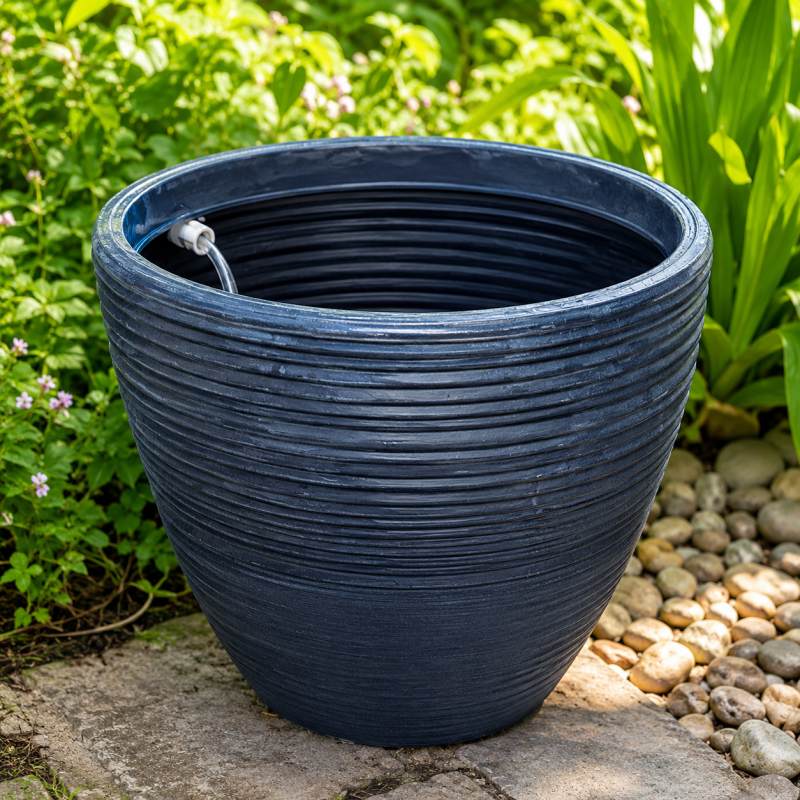
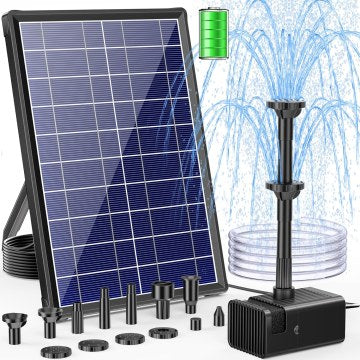


Schritt 1: Installation des Wasserbehälters

1. Wählen Sie einen sonnigen Standort, an dem das Solarpanel nicht leicht beschattet wird, um den Wasserspeicher aufzustellen.

2. Bohren Sie ein Loch in die Seite des Wasserspeichers, installieren Sie ein PV-Wasserrohr und schließen Sie dann ein Kupferrohr an.
Schritt 2: Bohren und Versiegeln des Bodens
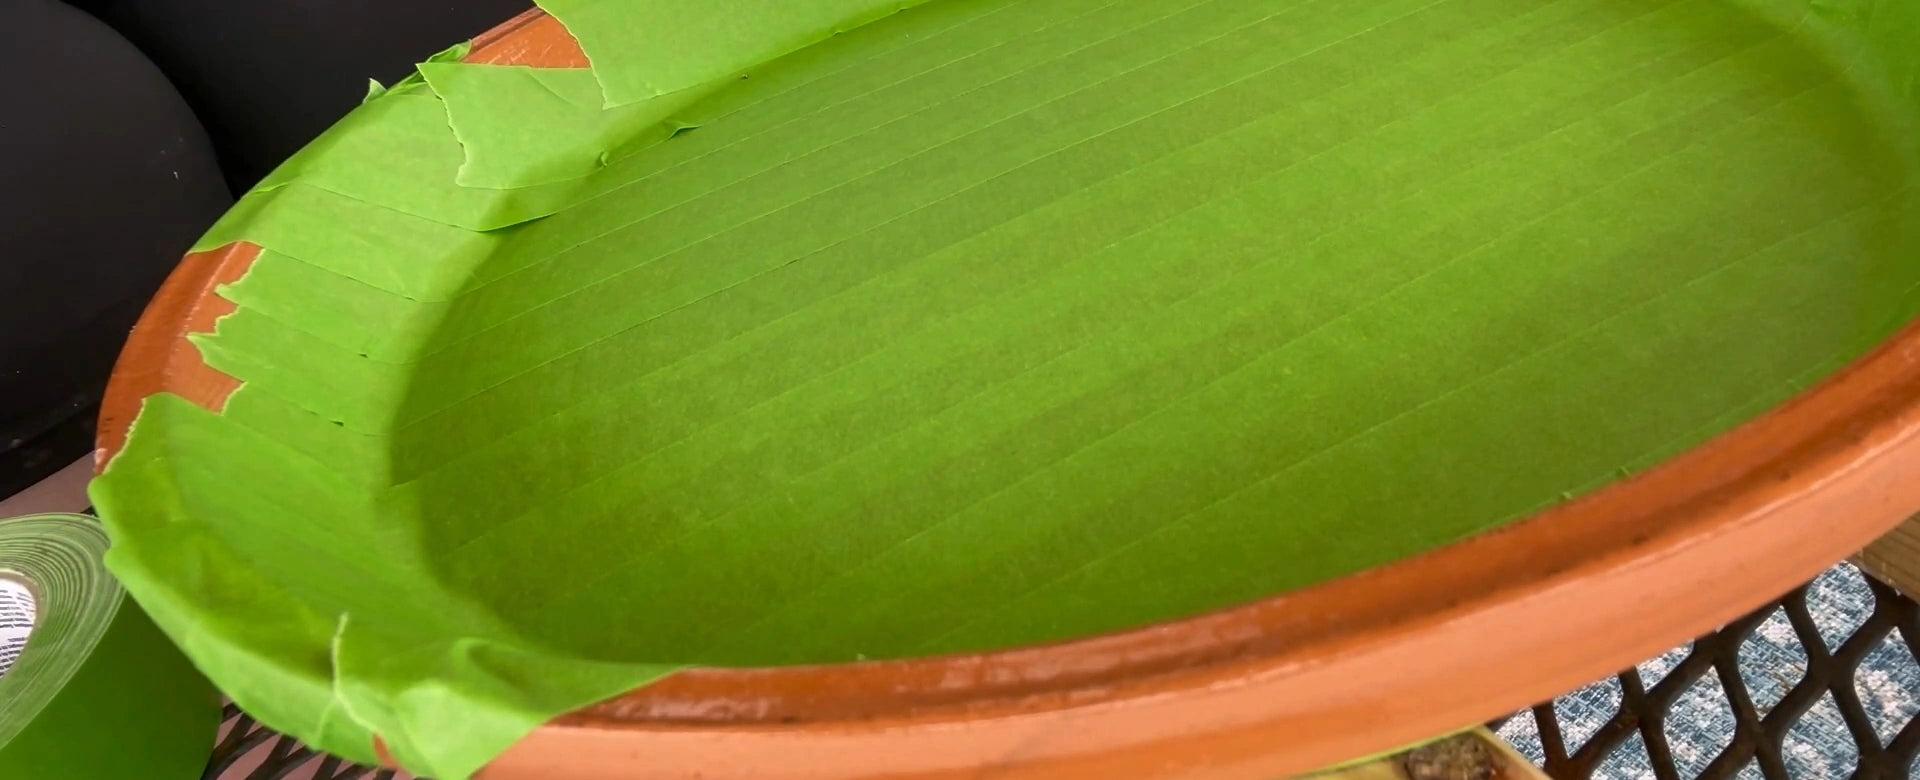
3. Bevor Sie mit dem Bohren beginnen, kleben Sie die Innenseite und den Boden der Schale ab, um Risse im Ton während des Bohrens zu vermeiden.
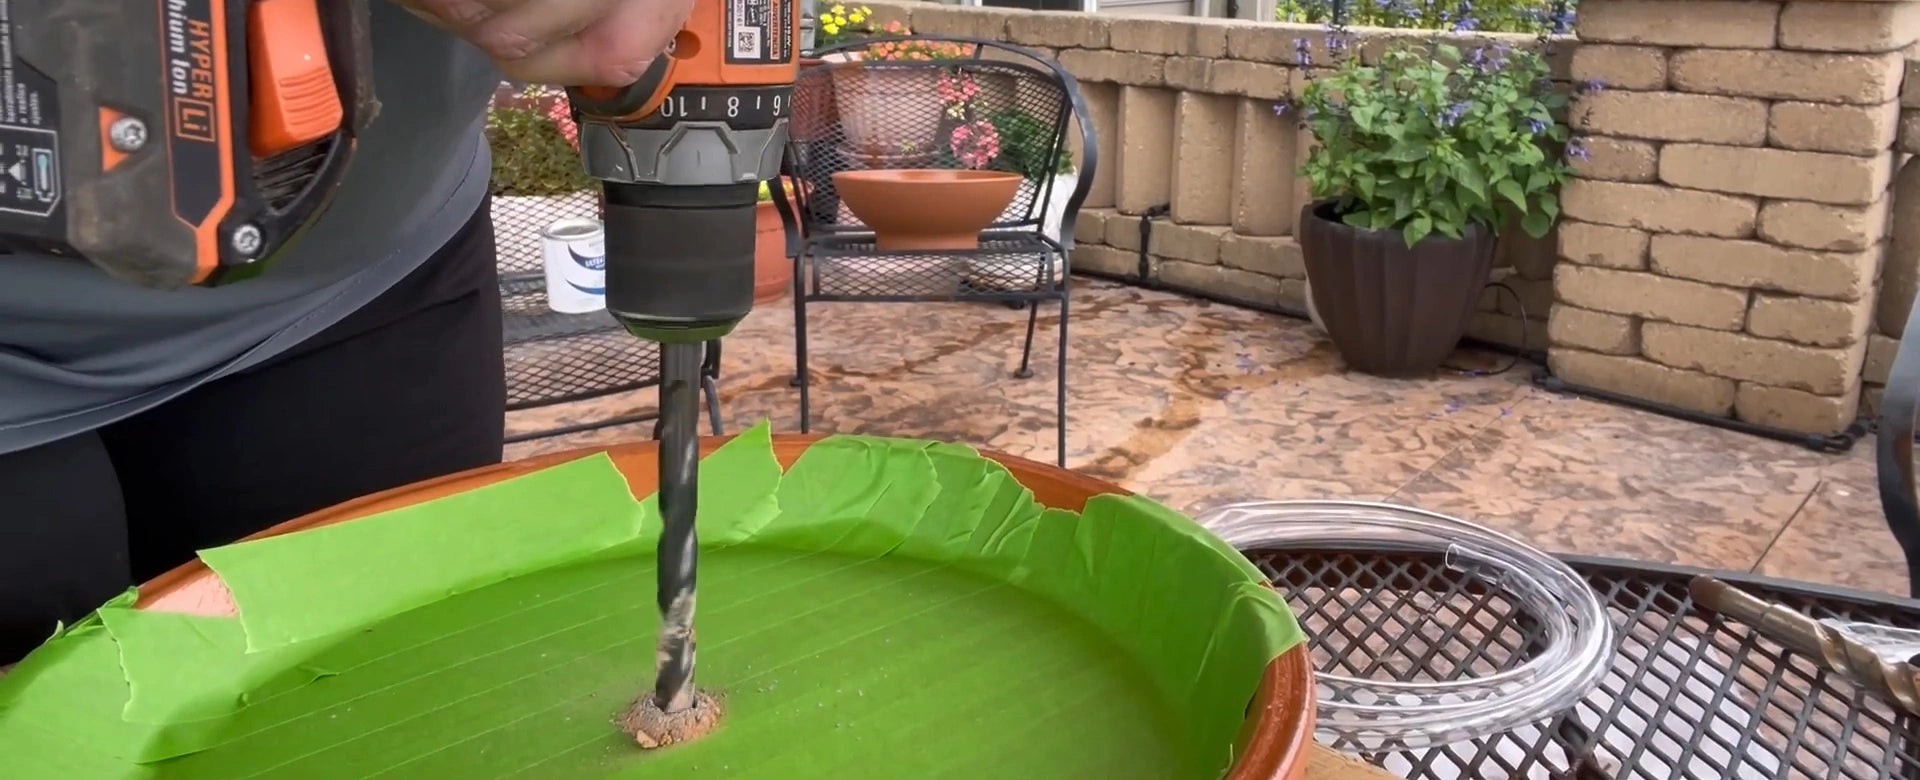
4. Bohren Sie ein paar kleine Löcher am Rand der Schale, damit das Wasser abfließen kann.
Schritt 3: Dichtheitsprüfung und Montage des Wasserspiels

5. Fügen Sie Wasser hinzu, um den Wasserflusseffekt zu testen.

6. Düse entfernen, Schlauch anschließen und die Behälter nacheinander aufstellen.
Viel Freude mit Ihrem Solar-Tropfbrunnen!