
Das sanfte Plätschern von Wasser im Garten hat fast etwas Hypnotisches. Ein kleiner Wasserfall klingt aber nicht nur gut – er verwandelt einen stehenden Teich in einen wohltuenden Ort zum Entspannen nach einer langen Woche. Und das Beste daran? Sie brauchen weder ein ganzes Team von Handwerkern noch wochenlange Knochenarbeit. Mit einem gut durchdachten Teichwasserfall-Set können Sie innerhalb eines Wochenendes eine wunderschöne Anlage errichten und in Betrieb nehmen.
Egal, ob Sie ein erfahrener Gärtner sind oder sich zum ersten Mal an einen selbstgebauten Teichwasserfall wagen, diese Schritt-für-Schritt-Anleitung – basierend auf professioneller Praxis und den ökologischen Produktentwicklungsprinzipien von Poposoap – führt Sie durch den gesamten Prozess von der Einrichtung bis zum letzten Schliff.
Auswahl Ihres Wasserfall-Sets
Bevor Sie mit dem Spaten beginnen, benötigen Sie die richtige Ausrüstung. Das Herzstück jeder Gartenwasserfallanlage ist die Pumpe mit Filtersystem, die das Wasser zirkulieren lässt.
Pumpen und Fördermenge:
Ein kleiner Teich lässt sich ideal mit einer Solarpumpe wie der von Poposoap betreiben. Sie sorgt für eine sanfte Wasserzirkulation ohne Strom und passt damit perfekt zum Konzept einer umweltfreundlichen Gartengestaltung. Poposoap-Pumpen Sie verfügen über kleine Solarpaneele und arbeiten geräuschlos, wodurch sie sich ideal für Wasserfälle im Garten eignen.

Filtersysteme:
Ein guter Filter hält das Wasser sauber und verhindert Verstopfungen. Die wiederverwendbaren Filterboxen von Poposoap eignen sich perfekt für Mini-Wasserfallprojekte – sie filtern Schmutzpartikel heraus, ohne die nützlichen Bakterien zu zerstören, die für das ökologische Gleichgewicht sorgen.
Rohrleitungen und Überlauf:
Ihr Set enthält flexible Schläuche und einen Überlauf (oder ein Wehr), über den das Wasser in den Teich geleitet wird. Wählen Sie ein Set, das der Größe Ihres Teiches entspricht; zu viel Durchfluss überfordert einen kleinen Teich, und eine zu schwache Pumpe lässt das Wasser stagnieren.
Materialien und Nachhaltigkeit:
Wie in der Markenstory von Poposoap erwähnt, macht es einen Unterschied, Produkte aus umweltfreundlichen Materialien zu wählen. Wetterfeste Beschichtungen und ungiftige Kunststoffe gewährleisten eine langlebige Installation, ohne die Tierwelt zu schädigen.
Bevor Sie mit den Arbeiten beginnen, stellen Sie sicher, dass Ihr Set Folgendes enthält:
- Solar- oder Elektropumpe
- Filterbox
- Schläuche und Verbindungsstücke
- Überlaufanlage
- Dekorative Steine (optional, aber sehr empfehlenswert)
Werkzeuge und Vorbereitungsarbeiten
Der Bau eines Wasserfalls ist halb Kunst, halb Ingenieurskunst. Die richtige Vorbereitung ist der Schlüssel zum Erfolg.
Sie benötigen:
- Schaufel und Kelle zum Formen von Böschungen
- Eine Wasserwaage zur Aufrechterhaltung des Gleichgewichts des Überlaufs
- Schere oder Universalmesser zum Schneiden von Schläuchen
- Ein kleiner Rechen zum Planieren des Bodens
- Wasserdichtes Dichtmittel (falls für Ihr Set erforderlich)
- Ein Paar Arbeitshandschuhe

Planen Sie Ihr Layout:
Entscheiden Sie, wo Ihr Wasserfall im Verhältnis zu Ihrem Teich platziert werden soll. Ideal ist es, wenn er von einer leicht erhöhten Stelle herabfließt, wodurch eine natürliche Bewegung ohne steile Gefälle entsteht. Hausbesitzer wählen meist eine Ecke oder einen Rand, der von Sitzplätzen aus gut sichtbar ist.
Strom und Sonnenlicht:
Wenn Sie eine Solarpumpe verwenden, achten Sie darauf, dass Ihr Panel mindestens sechs Stunden Sonnenlicht pro Tag erhält. Die Solarsets von Poposoap verwenden verstellbare Panels, die eine flexible Positionierung abseits von Schattenplätzen ermöglichen.
Erstelle deine Basis:
Markieren Sie die Position des Überlaufs und der Schläuche. Graben Sie einen flachen Graben für die Schlauchleitung zwischen der Pumpe (im Teich) und dem Überlauf (darüber). Das Gefälle sollte gering sein – etwa 2,5 cm pro 30 cm Schlauchlänge –, um einen gleichmäßigen Wasserdurchfluss zu gewährleisten.
Die Vorbereitung ist der zeitaufwändigste Teil, aber sie schafft die Grundlage für einen Wasserfall, der natürlich aussieht und reibungslos funktioniert.
Schritt-für-Schritt-Installationsanleitung
Jetzt, wo Ihre Werkzeuge und Ihr Entwurf bereit sind, kommt der spaßige Teil – der Bau Ihres eigenen Teichwasserfalls.
Schritt 1: Pumpe und Schlauch platzieren
Positionieren Sie die Pumpe im Teich, idealerweise an der tiefsten Stelle. Verbinden Sie den Schlauch sicher mit dem Auslass. Wenn Sie eine Poposoap-Solarpumpe verwenden, werden Sie feststellen, wie leicht und tragbar das Gerät ist – keine Kabel, keine Steckdosen, kein Stress. Verlegen Sie den Schlauch im Graben nach oben zur Stelle, an der der Überlauf sein wird.
Schritt 2: Baue die Wasserfallbasis
Verwenden Sie Steine, Ziegel oder Betonblöcke für die Grundstruktur. Stapeln Sie diese sorgfältig zu einem kleinen Hügel hinter Ihrem Teich auf. Die Höhe sollte bei kleineren Flächen 60–90 cm nicht überschreiten; es geht um einen natürlichen Wasserlauf, nicht um einen reißenden Strom.
Schritt 3: Installation des Überlaufs
Positionieren Sie den Überlauf oder Wasserfallkasten über Ihrem Fundament. Richten Sie ihn waagerecht aus, damit das Wasser gleichmäßig abfließen kann. Verbinden Sie die Schläuche mit dem Einlass des Überlaufs mithilfe der im Set enthaltenen Klemmen oder Verbindungsstücke.
Schritt 4: Einbau der Auskleidung (falls erforderlich)
Manche Sets enthalten eine Teichfolie zur Wasserführung. Legen Sie diese in diesem Fall unter die Wasserfallsteine und lassen Sie sie etwas in den Teich hineinragen. So verhindern Sie Leckagen und Bodenerosion.
Schritt 5: Den Ablauf testen
Betätigen Sie die Pumpe vor dem Dekorieren. Beobachten Sie, wie das Wasser über die Steine fließt, und justieren Sie die Pumpe, bis Durchfluss und Geräusch stimmen. Ist es zu viel? Fügen Sie einen weiteren Stein oder einen Umlenker hinzu. Ist es zu wenig? Verlegen Sie den Schlauch näher an den Überlaufrand.
Schritt 6: Abschlusssteine einarbeiten
Sobald der Wasserfluss zufriedenstellend aussieht, können Sie die Schläuche und die Teichfolie mit Ziersteinen verdecken. Die Produktanleitung von Poposoap empfiehlt die Verwendung glatter Flusskiesel oder Schieferplatten, die farblich zu Ihrem Teich passen.
Schritt 7: Solarpanel einstellen (bei Solaranlagen)
Richten Sie das Solarpanel auf direktes Sonnenlicht aus. Dank der verstellbaren Halterung von Poposoap ist dies auch in halbschattigen Gärten problemlos möglich.
Das war's – der Gartenwasserfall ist installiert. Diese Schritte können die meisten Hausbesitzer mit wenig Erfahrung an einem Wochenende selbst erledigen.
Sicherheit und Positionierung
Sicherheit und Langlebigkeit gehen Hand in Hand. Ein fachgerecht installierter Wasserfall ist nicht nur schön anzusehen, sondern auch sicher und wartungsarm.
Elektrische Sicherheit:
Bei Verwendung einer elektrischen Pumpe schließen Sie diese an eine für den Außenbereich geeignete FI-Schutzschalter-Steckdose an. Verlegen Sie die Kabel oberirdisch und fern von Gehwegen. Die Solarsysteme von Poposoap beseitigen diese Probleme vollständig, da sie sauberen, kabellosen Strom nutzen.
Positionierungstipps:
- Sorgen Sie dafür, dass Ihr Wasserfall vom Hauptgartenbereich aus sichtbar ist – er ist ein natürlicher Blickfang.
- Vermeiden Sie es, das Gerät direkt unter Bäumen aufzustellen; herabfallende Blätter können die Filter verstopfen.
- Um eine Überhitzung zu vermeiden, muss die Pumpe vollständig untergetaucht bleiben.
- Sorgen Sie dafür, dass der Überlauf für die saisonale Reinigung und Wartung zugänglich ist.
Ökologische Überlegungen:
Der Umweltschutzgedanke von Poposoap fördert den Bau von Teichen, die die lokale Artenvielfalt unterstützen. Dazu gehören die Schaffung schadstofffreier Umgebungen, sanfter Wasserströmung und natürlicher Felsränder, die Vögeln, Fröschen und Libellen sichere Sitzplätze bieten.
Letzte Handgriffe und Wartung
Nun kommt der künstlerische Teil – die harmonische Einbindung des Wasserfalls in seine Umgebung.

Landschaftsgestaltung:
Pflanzen Sie Uferpflanzen wie Binsen, Schwertlilien oder Seerosen um den Teichrand. Ihre Struktur lockert das Steinmauerwerk auf und lockt Nützlinge an. Farne oder Ziergräser in der Nähe bilden eine grüne Umrandung.
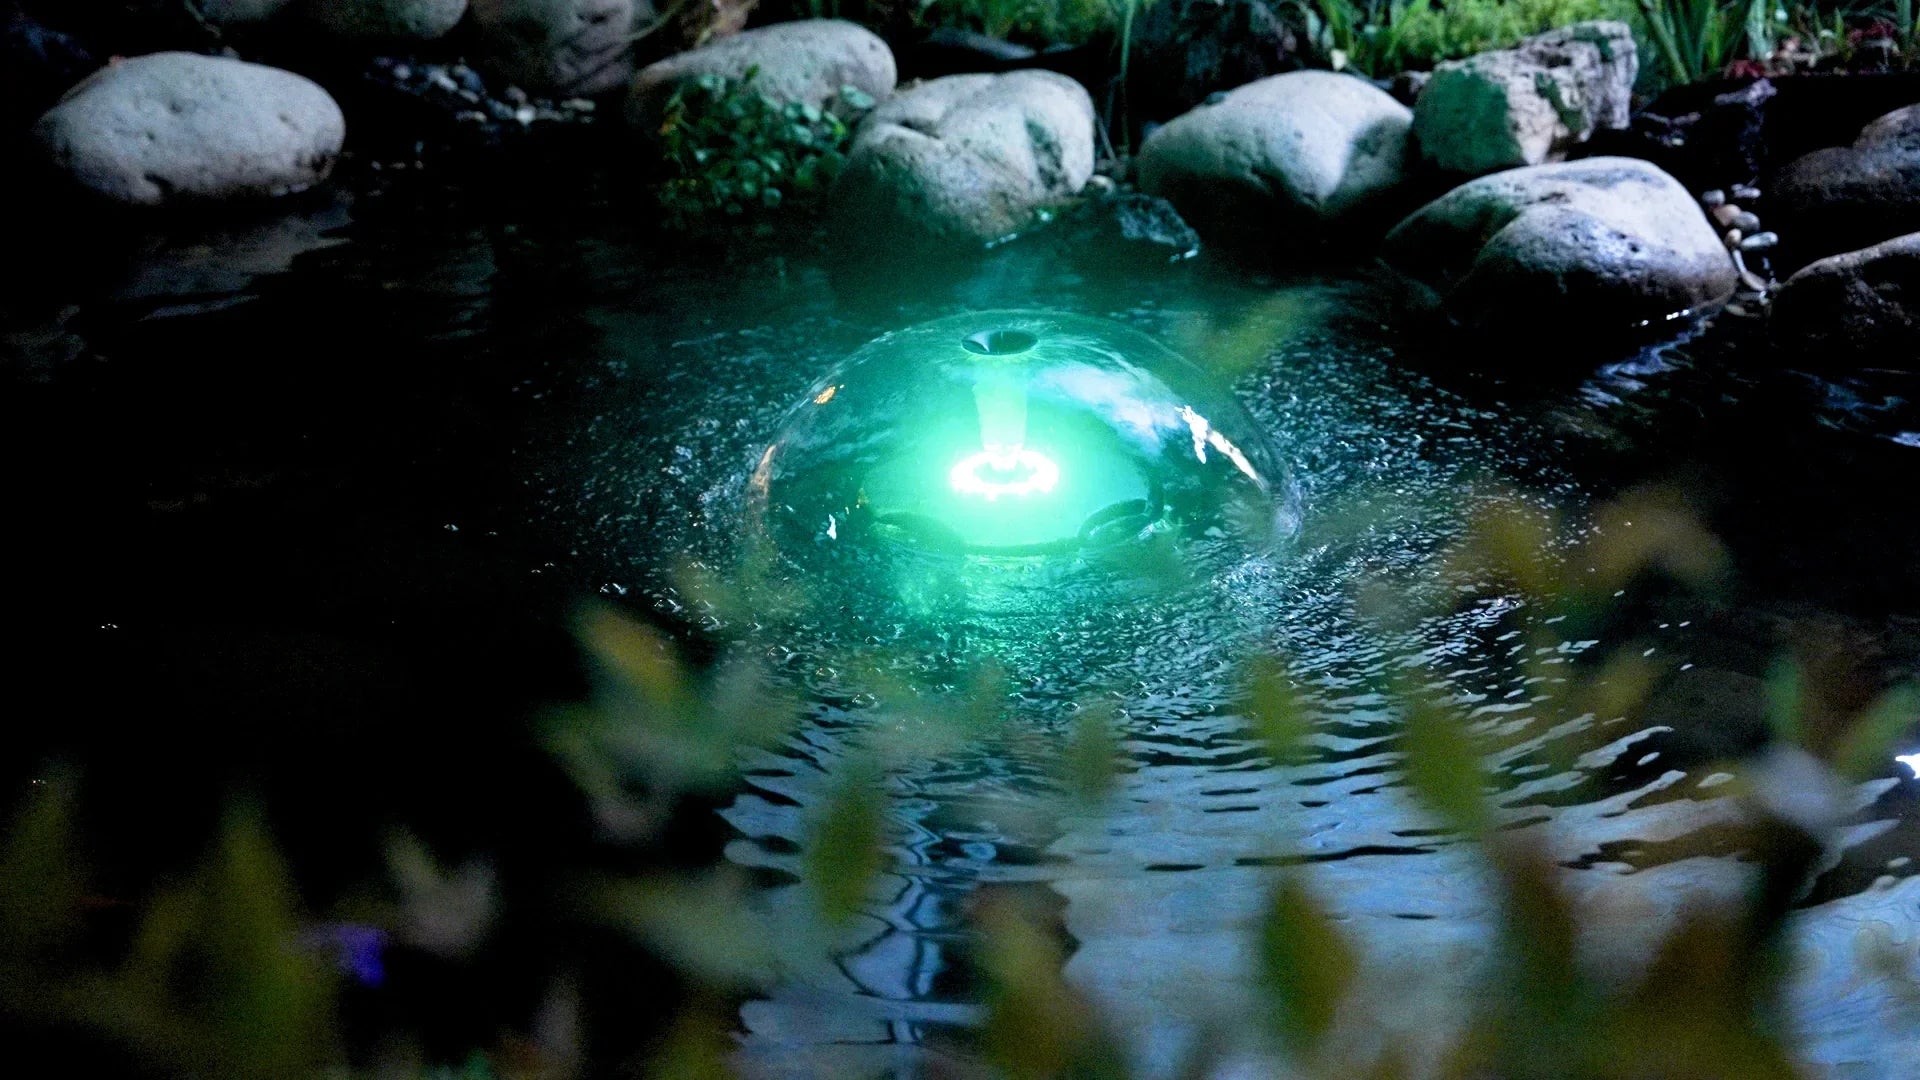
Beleuchtung:
Solarbetriebene LED-Strahler am Wasserfallfuß sorgen nach Sonnenuntergang für stimmungsvolle Beleuchtung. Die Solarbrunnen-Sets von Poposoap sind mit Zusatzbeleuchtung kompatibel, sodass diese ohne zusätzliche Kabel einfach installiert werden kann.
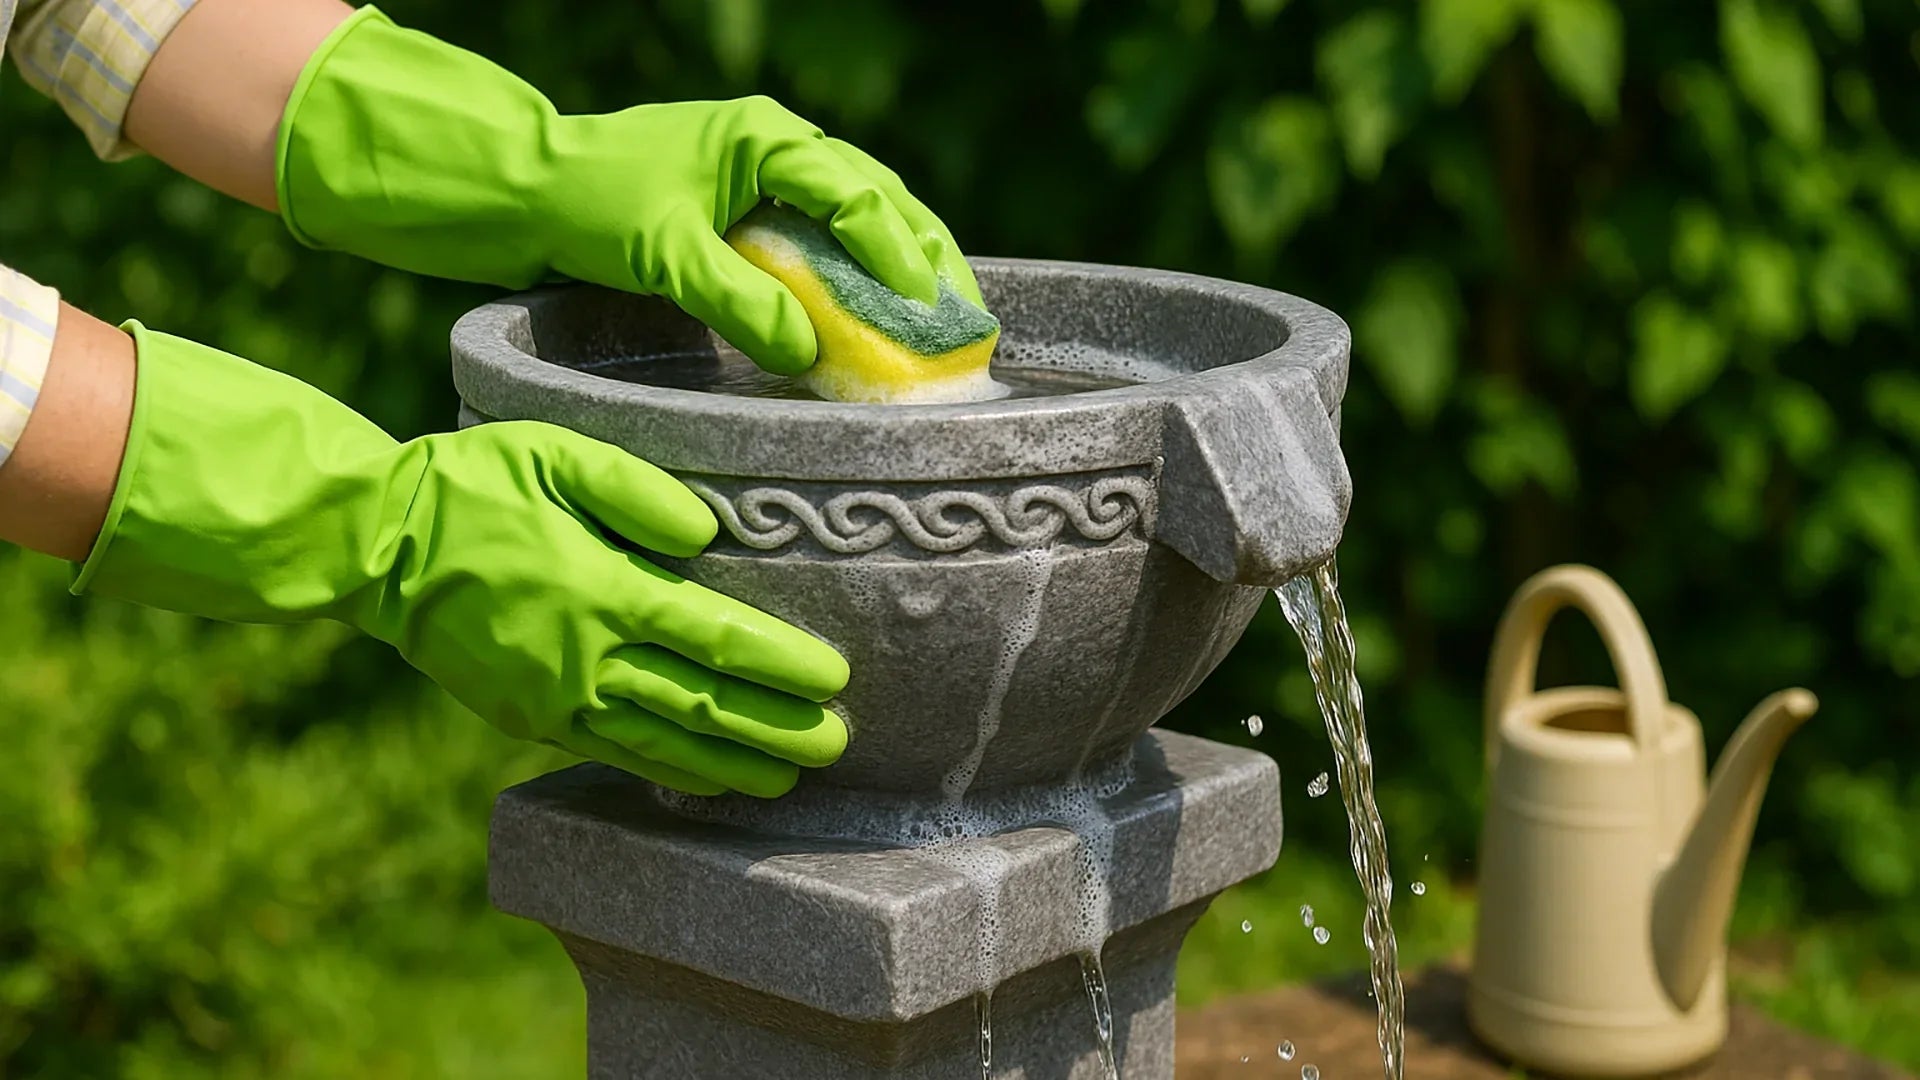
Wartung:
Wie jedes Wasserspiel benötigt auch Ihr Wasserfall nur minimale Pflege, um makellos zu bleiben:
- Spülen Sie das Pumpenlaufrad alle 2–3 Wochen ab, um Ablagerungen zu vermeiden.
- Reinigen Sie die Filterschwämme einmal im Monat, wie in der Produktanleitung von Poposoap empfohlen.
- Entfernen Sie herabgefallenes Laub so schnell wie möglich, um ein Verstopfen des Abflusses zu vermeiden.
- Im Winter sollten die Solarteile entleert und im Innenbereich gelagert werden, um sie vor Frost zu schützen.
Klang- und Durchflusseinstellungen:
Sie können das Klangbild Ihres Wasserfalls auch durch Umordnen der Steine verändern. Höher platzierte Steine erzeugen ein kräftigeres Plätschern, flache Steine hingegen ein sanftes Murmeln. Dank der Flexibilität selbstgebauter Teichwasserfälle können Sie so lange experimentieren, bis die Atmosphäre angenehm ist.
Umweltfreundlicher Betrieb:
Dank der in die Poposoap-Systeme integrierten Solartechnologie wird Ihr Wasserfall vollständig mit erneuerbarer Energie betrieben. Er ist kostenlos, leise und umweltfreundlich – ganz im Sinne der Markenphilosophie „Ökologische Schönheit durch Einfachheit“.
Schlussbetrachtung
Einen Teichwasserfall anzulegen, klingt vielleicht nach einer großen Aufgabe, aber mit dem richtigen Material und etwas Planung lässt es sich durchaus an einem Wochenende realisieren. Vor allem aber verleiht er Ihrem Garten Tiefe, Bewegung und Ruhe – und macht selbst einen kleinen Teich zu einem Ort der Entspannung.

Die solarbetriebenen Filtersysteme und Pumpen von Poposoap machen die Gartenbewässerung deutlich einfacher, sicherer und umweltfreundlicher. Die Systeme vereinen moderne Technik mit natürlichem Design und ermöglichen Hausbesitzern so die Installation atemberaubender Gartenwasserfälle ohne aufwendige Verkabelung oder laufende Kosten.
Ein Wasserfall verschönert nicht nur Ihren Teich – er erweckt ihn zum Leben. Das sanfte Plätschern des Wassers lockt Vögel an, erfrischt die Luft und schafft einen Rhythmus, der beruhigend und umweltfreundlich zugleich ist. Mit etwas Geduld, Kreativität und dem richtigen Werkzeug werden Sie das Wochenende nicht nur mit einem abgeschlossenen Projekt ausklingen lassen, sondern auch mit einem anhaltenden Gefühl der Ruhe, das Sie jedes Mal aufs Neue genießen, wenn Sie nach draußen gehen.
Anmerkung der Redaktion: Alle geäußerten Meinungen, Produktempfehlungen und praktischen Hinweise basieren auf den professionellen Entwicklungsstandards von Poposoap und der praktischen Installationserfahrung.
Offenlegung: Dieser Artikel enthält Links zu Produkten von Poposoap. Unsere Empfehlungen sind unabhängig und basieren auf Produktleistung und umweltfreundlichen Designprinzipien.
Hinterlasse einen Kommentar
Alle Kommentare werden vor der Veröffentlichung geprüft.
Diese Website ist durch hCaptcha geschützt und es gelten die allgemeinen Geschäftsbedingungen und Datenschutzbestimmungen von hCaptcha.